Description: The purpose of this article is to provide a detailed overview of the process for creating SMS boxes in the Numbers App and securing them by Multi-Factor Authentication.
This feature is currently available for PC and GI customers only. Availability for Shared Hosted customers is planned in an upcoming release.The primary purpose of the Numbers App is to provide access to key functionalities such as purchasing phone numbers, managing spare and assigned number pools, and enabling various features for each number.
In this article, we will focus on how to enable SMS/MMS boxes, assigning them to users (both individually and in shared mode), for a number and use them for messaging purposes.To access the Numbers App, log in to the Monster UI Portal.
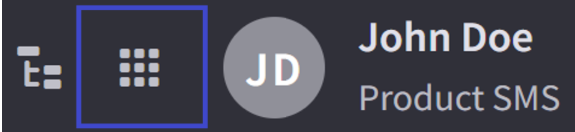
In the top horizontal panel of the portal, click the “Apps” button, then select the Numbers App from the menu that appears.
Upon logging into the app, users will be presented with the app interface displaying the Spare Numbers Tab as the default view.
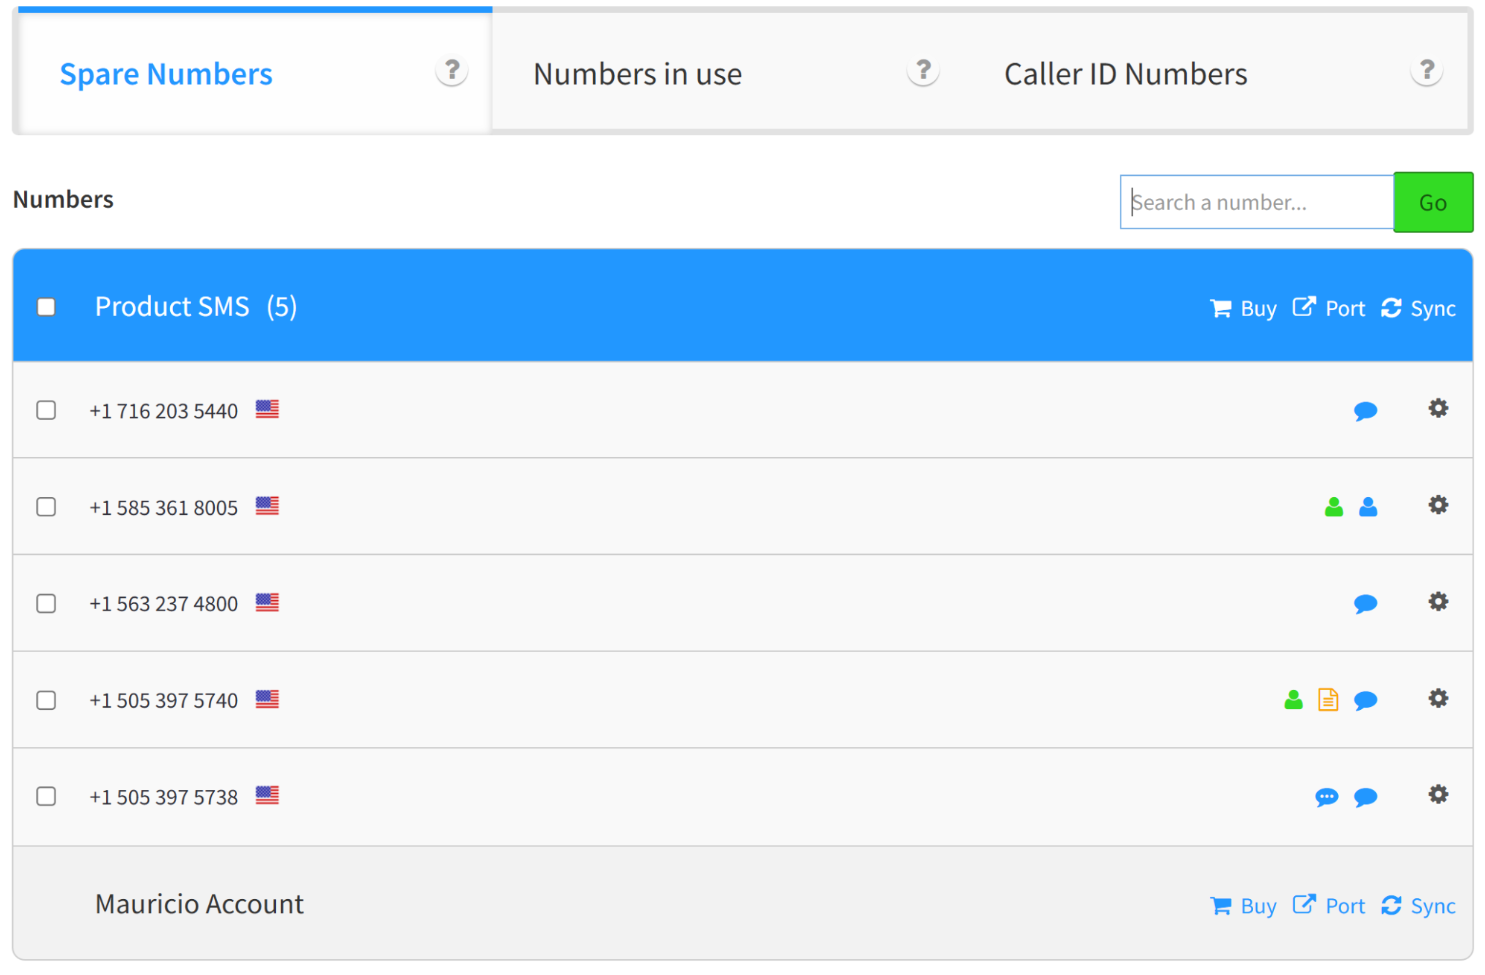
First, you need to determine whether you want to purchase a new phone number to use for creating an SMS/MMS box, or use one of the already purchased numbers listed in the Spare Numbers tab.
To purchase a new number, click the “Buy” button and select the desired number type from the drop-down list.

The process of purchasing phone numbers via the Numbers app is a broad topic and will not be covered in this article. All newly purchased numbers will appear in the Spare Numbers list. To continue, select a number from the list and click the Gear icon next to it. Select the “Messaging” option from the appeared drop-down list.
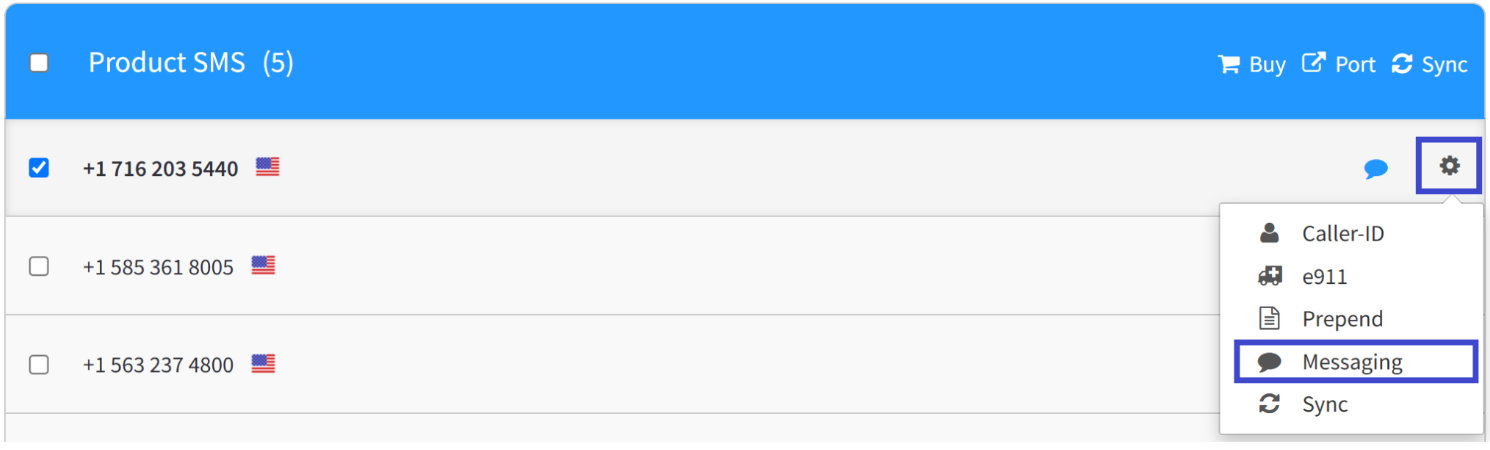
Depending on whether you’re a reseller or non-reseller, the interface will look a bit different. Let’s take a closer look at both scenarios.
Reseller Experience
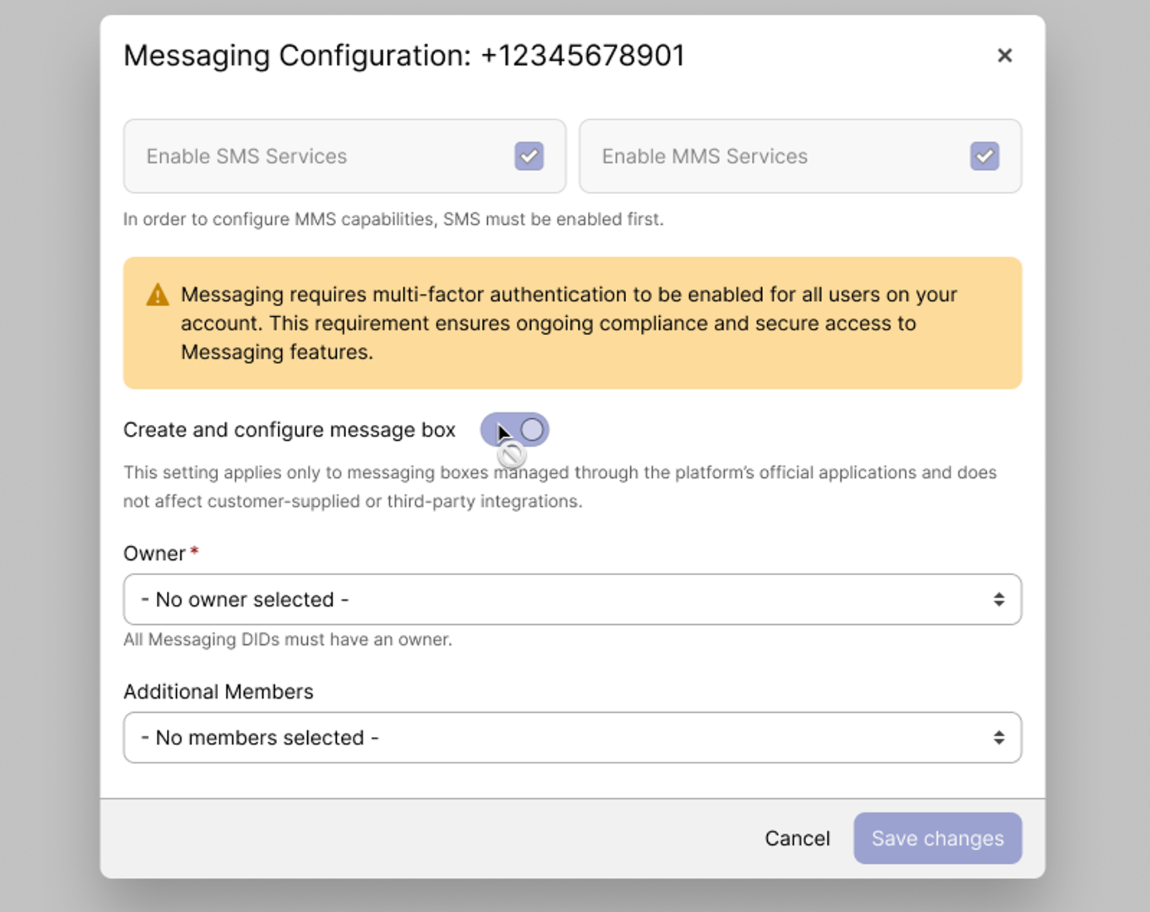
After selecting this option, a pop-up window will appear, allowing you to configure the Messaging feature for the selected phone number.
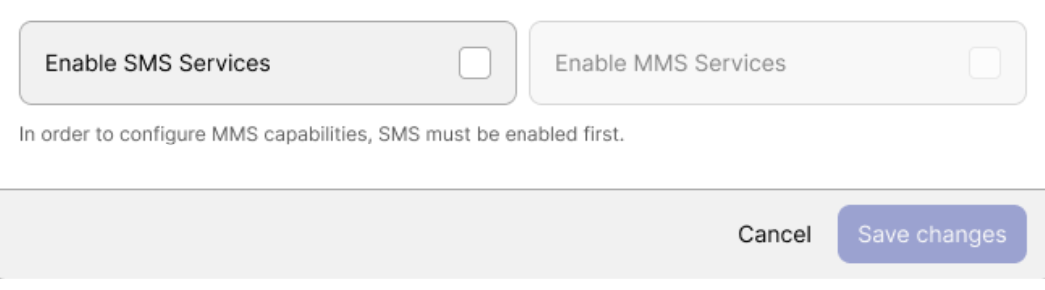
Two options are available for you in the appeared pop-up window:
- Enable SMS Services: check this box to enable SMS for the selected phone number.
- Enable MMS Services: check this box to enable MMS for the selected phone number.
Note that MMS can only be enabled after SMS has been enabled for that phone number.
When you select either of the available options or services to enable, an information box appears notifying you that all messaging requires multi-factor authentication (MFA), which must be enabled for all users on your account.
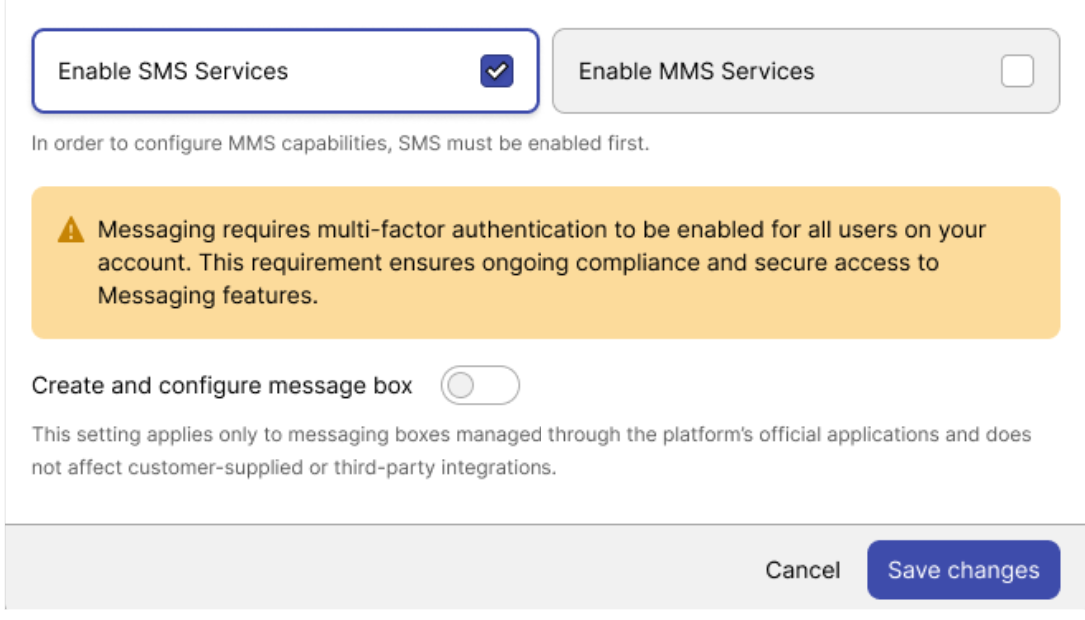
Multi-Factor Authentication (MFA) is a security approach that requires users to confirm their identity using two or more distinct verification factors before access is allowed. These factors generally include something the user knows (for example, a password or PIN), something the user possesses (such as a mobile device or hardware token), and something the user is (such as biometric information). By requiring multiple forms of verification, MFA significantly reduces the risk of unauthorized access, even if one factor is compromised.MFA must be enabled for all users on the account, as it is an account-wide requirement. If SMS is enabled for any user on the account, all users are required to set up MFA.After you enable at least one of the available services, the “Create and configure message box” toggle switch becomes available, allowing you to create and configure message boxes.

Regarding BYOC (Bring Your Own Carrier), there are two options depending on the carrier you choose: using a carrier affiliated with us (Trunking.io) or a third-party carrier (for example, Bandwidth):.
- Using Trunking.io:
  - The experience and UI remain unchanged. You need to create and configure a message box as usual.
- Using a third-party carrier: If you use third-party DIDs, you can either:
  - use your own end-user applications (in this case, the “Create and configure message box” toggle switch should be disabled), or
  - use our end-user applications (the “Create and configure message box” toggle switch must be enabled).
If you need to create a message box, enable this toggle switch. This will display additional fields in the pop-up window:
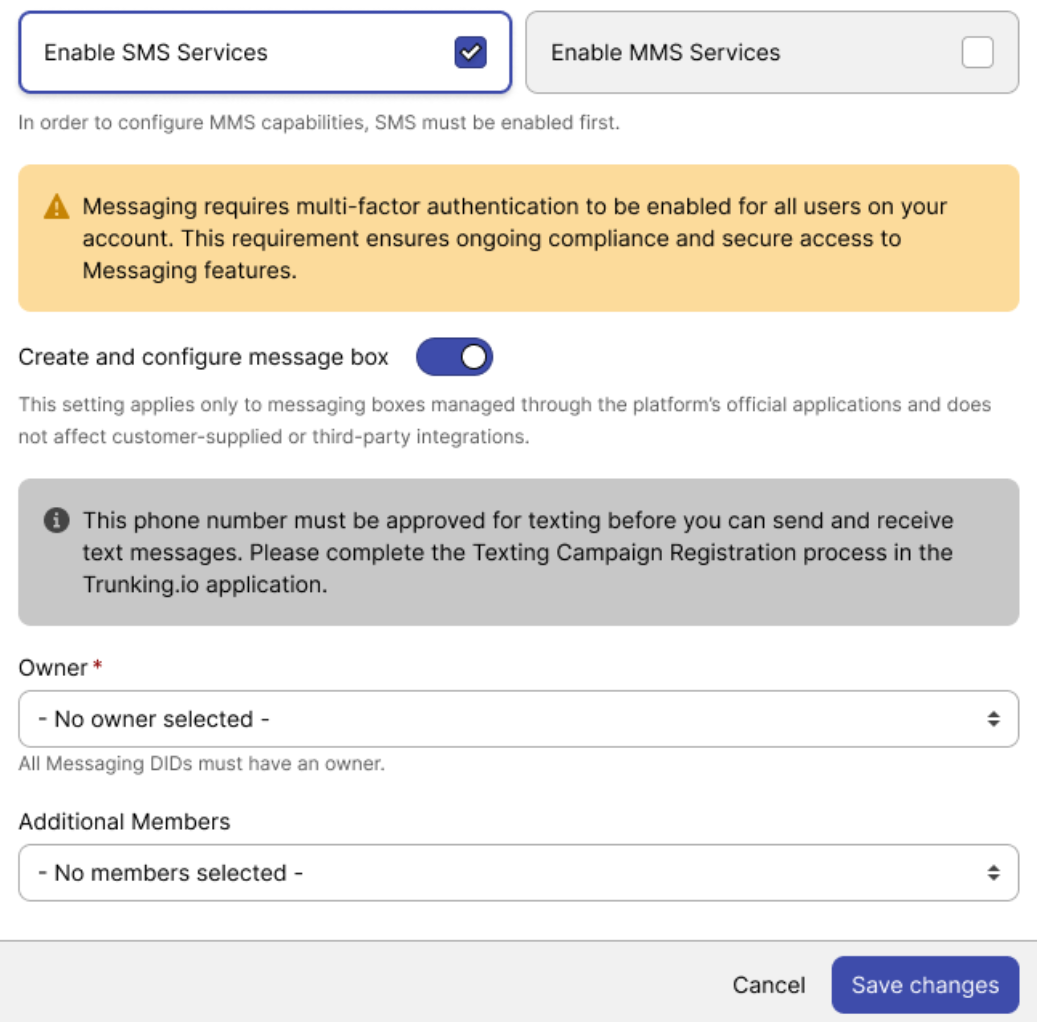
- Owner: click this field to open a drop-down list of all users under the Monster UI admin account. Choose the user who will be assigned as the primary owner of the SMS/MMS box.
- Additional Members: use this field to add other users as members of the SMS/MMS box, making it a shared box.
Don’t forget to click the “Save Changes” button to apply the parameters you have just configured.
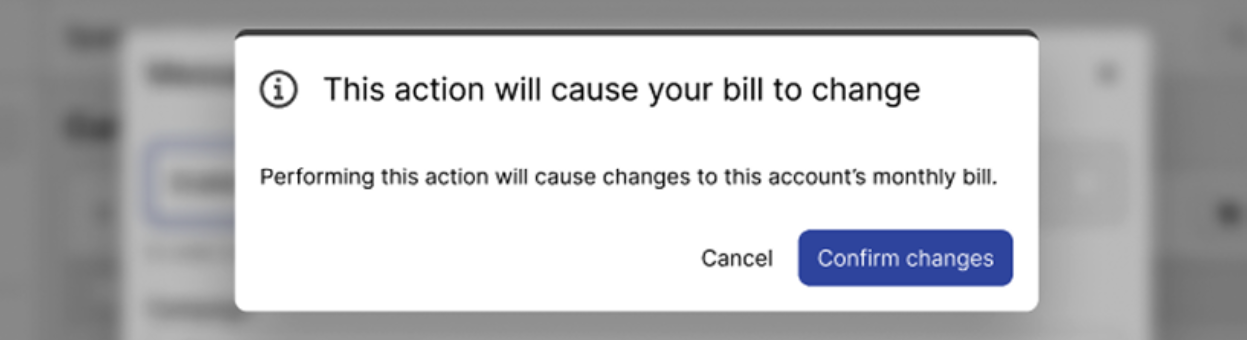
After doing so, another pop-up window will appear, informing you about the updated billing charges based on the newly enabled services. Click “Confirm changes” to confirm and proceed, or click “Cancel” to go back.
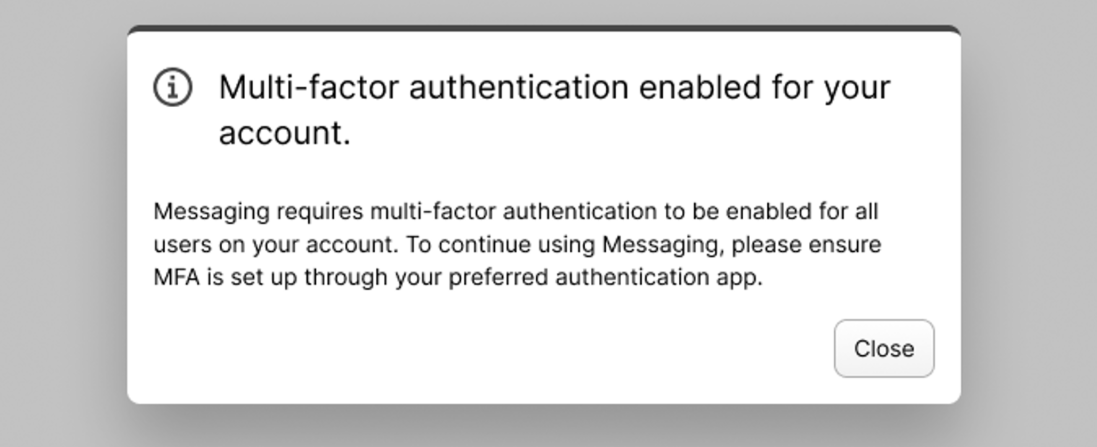
After clicking “Confirm changes,” the SMS/MMS box will be created, and a pop-up notification will appear confirming that MFA has been enabled.
Non-Reseller Experience
For non-resellers, the experience is almost the same as for resellers, with one key difference: non-resellers cannot enable SMS/MMS services on their own. In the pop-up window, the SMS/MMS service selector is displayed as grayed out and cannot be clicked.
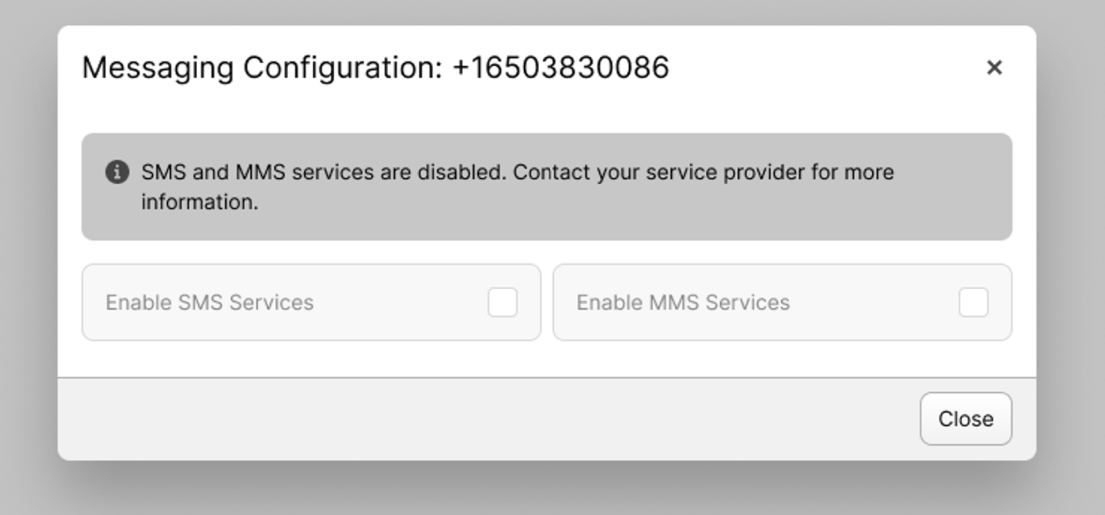
To enable these services, a non-reseller must contact their service provider. After your service provider enables the required services, the pop-up window will look the same as for resellers, but unlike resellers, non-resellers cannot disable the “Create and configure message box” toggle switch.
The following configuration steps of the message box and MFA are the same as those described above for resellers.
To verify that the message box has been created, log in to the Desktop Communications app as the primary owner or as one of the additional members, if the SMS/MMS box was set up as a shared one. After you enter your login credentials and click the “Log In” button, an additional pop-up window appears prompting you to enter a verification code if MFA is enabled.
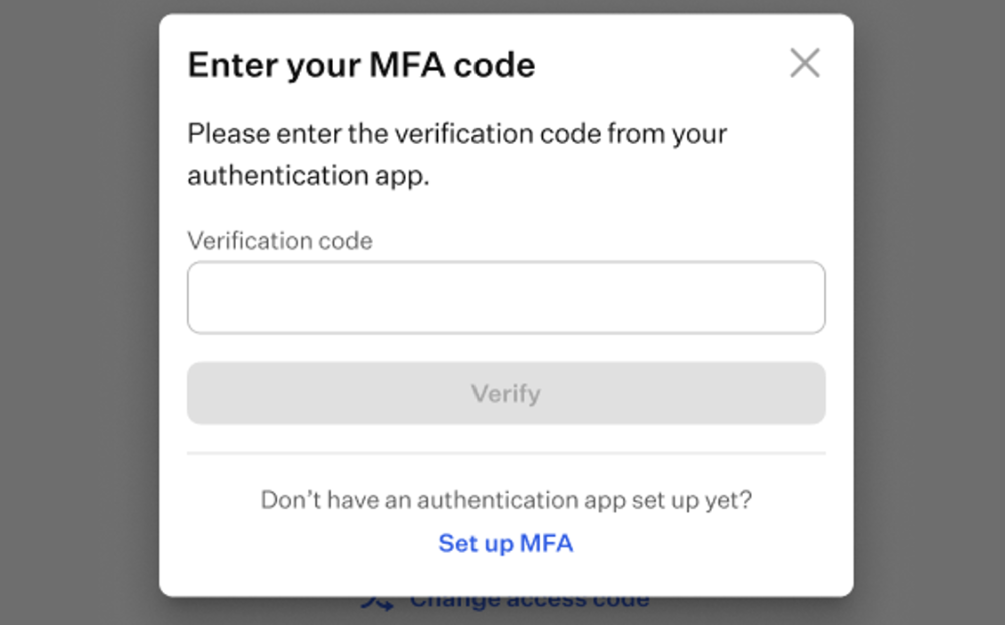
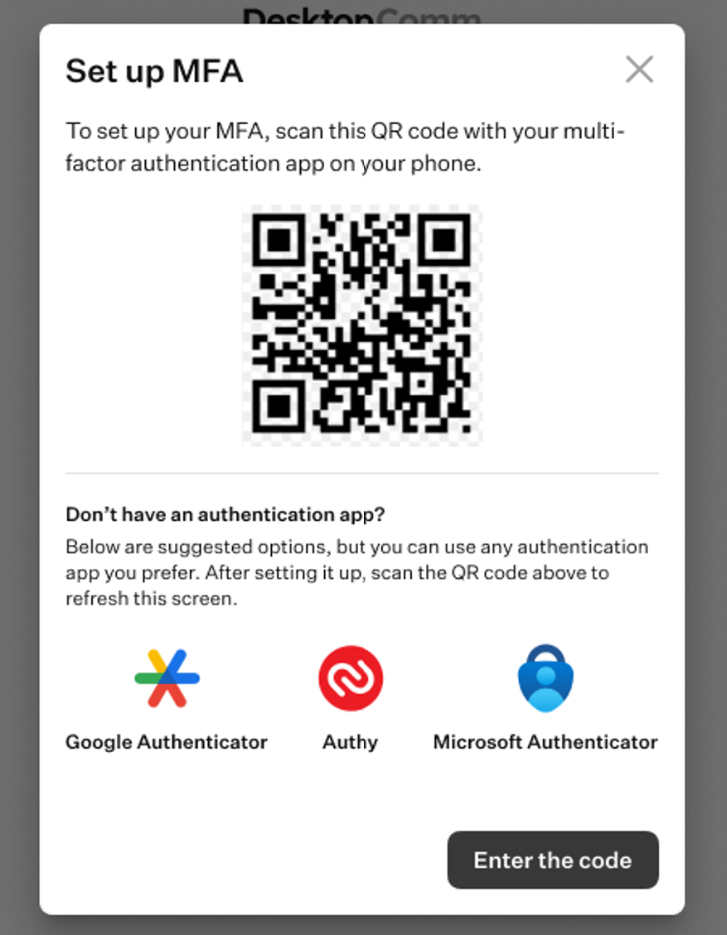
If you are using a shared SMS box, or if MFA is enabled at the account level without your participation, you will be required to complete the MFA setup process for your user account. To do so, click the “Set Up MFA” button in the pop-up window and follow the wizard to complete the setup using one of the suggested options. The three options shown are recommendations, not requirements.
Once you set up MFA and logged in, go to the Message module of the Desktop Communications app.
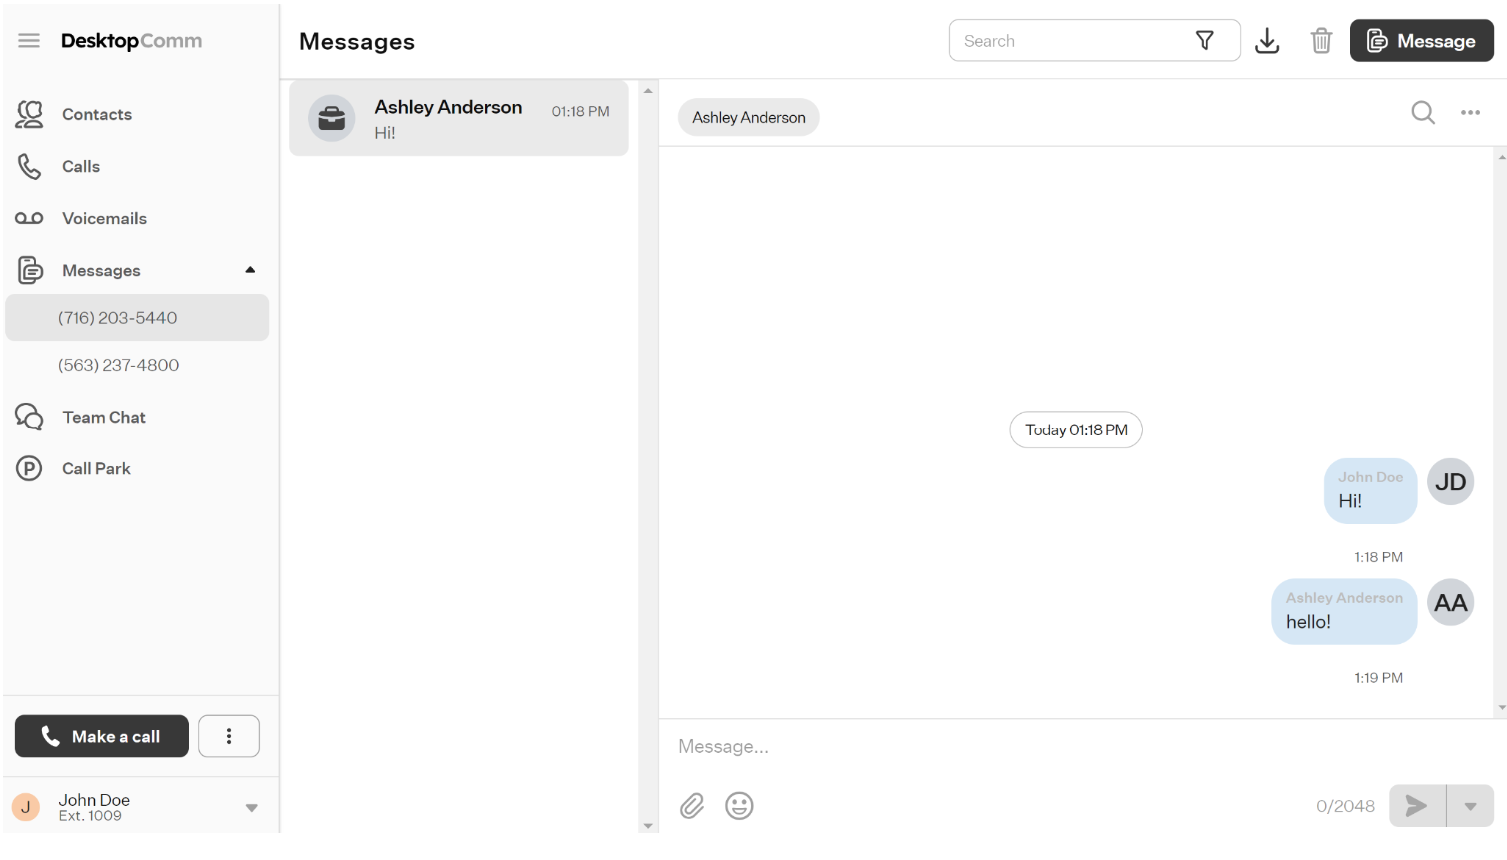
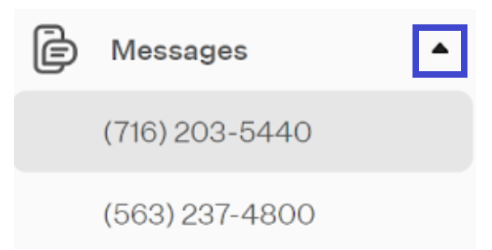
The Message module will display a small arrow icon. Clicking this icon will expand the list of boxes available for the account.
Selecting a box from the list will display its chats in the main space of the app.
Although it visually resembles many messaging apps available today, all conversations in the Messages module occur through phone numbers. This means that every text message is an SMS, and any message containing multimedia attachments is an MMS.As you can see, the phone number of one of the boxes available in the Desktop Communications app matches the number for which you enabled the messaging feature in the Numbers app.
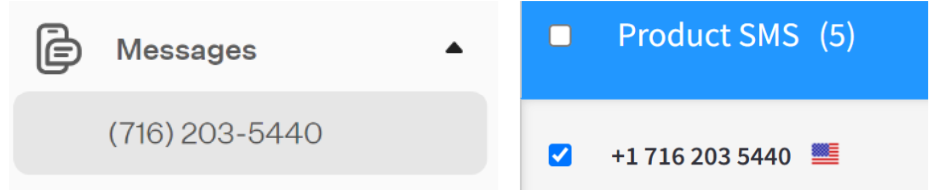
This indicates that the SMS/MMS box has been successfully created and assigned to the account.
Was this article helpful?
That’s Great!
Thank you for your feedback
Sorry! We couldn't be helpful
Thank you for your feedback
Feedback sent
We appreciate your effort and will try to fix the article