Description: This Feature offers access to your message box, allowing you to read and send text messages.
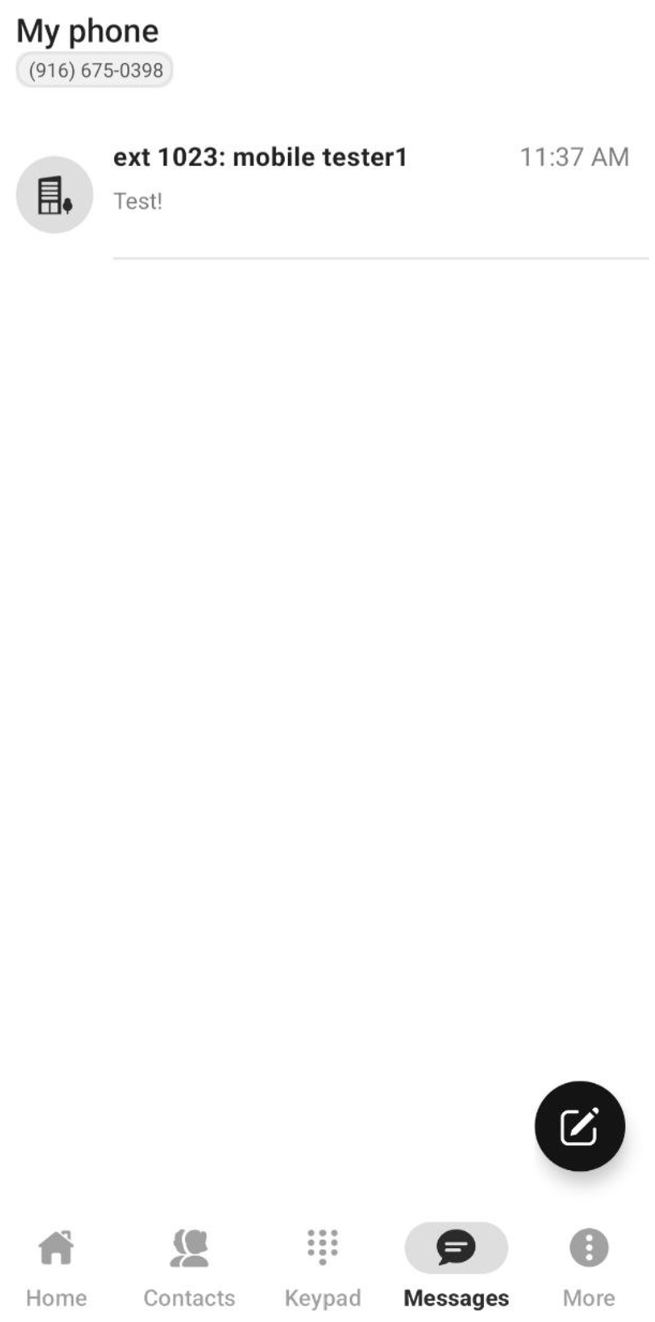
Once a message box has been created, you’ll need to enable MFA on your account to use the Messages feature. For more information, see this article.To make the Messages feature available in the MobileComm app, an admin must assign the user to a DID that has Message Box enabled. For more information, see this article.When you access the Messages feature of the MobileComm App, you will encounter an interface that resembles the following screenshot.
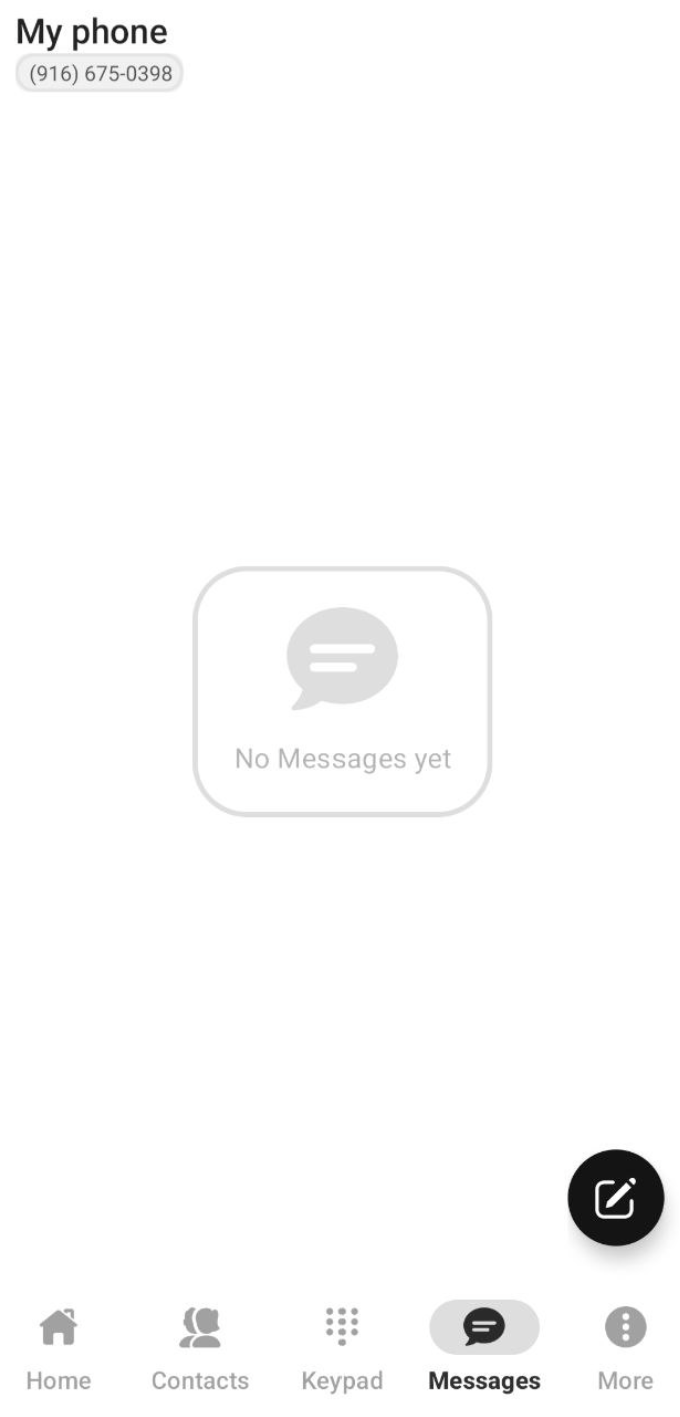
In the very top, you can see the phone number assigned to your account. This phone number will be used for sending and receiving SMS/MMS.
The feature’s interface comprises just one section: the list of chats, which is empty by default. To start a new chat, tap the “New Message” button.

After you tap this button, the “New Message” form will appear. Its interface contains six action elements:
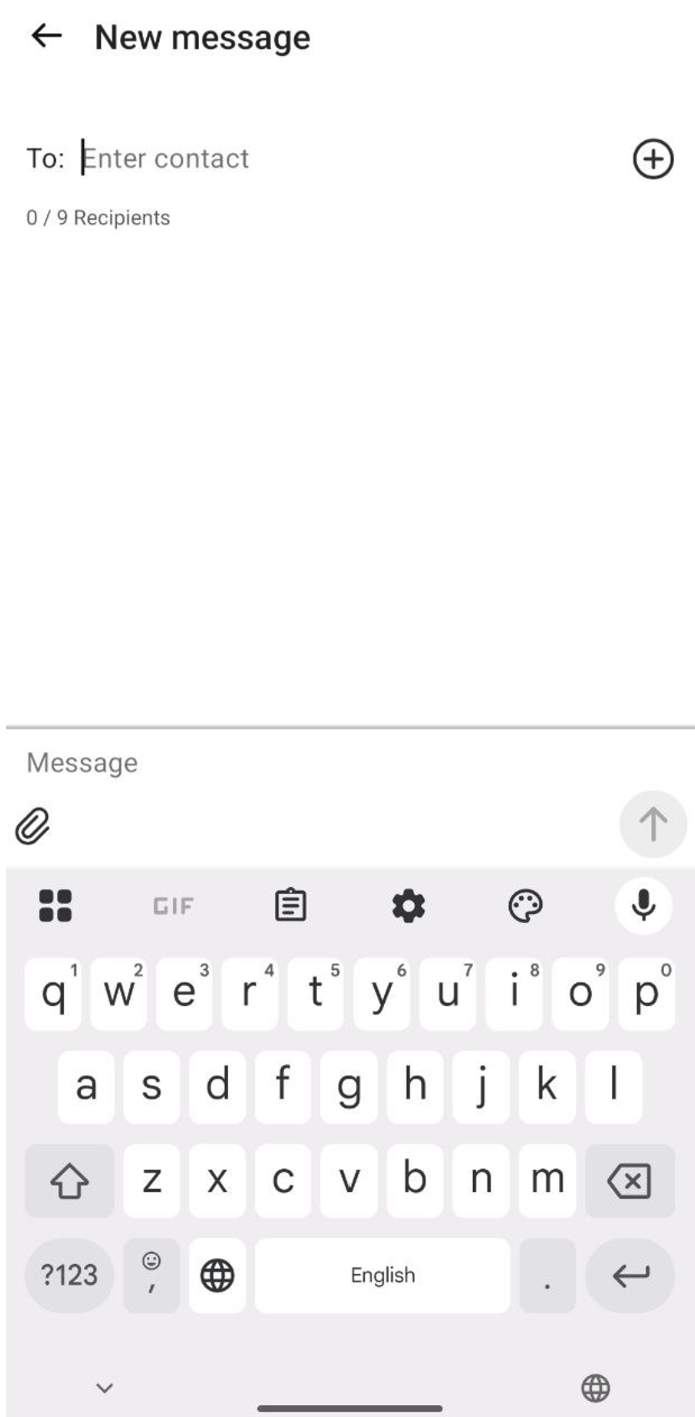
- Back: click this button to return to the list of chats and cancel creating a new message.
- To: use this field to manually enter the name of the contact or contacts you want to send the message to. Alternatively, click the “+” button to select contacts from your contact lists.
You can create chats with up to 10 participants including you.- Message: use this field to enter your message.
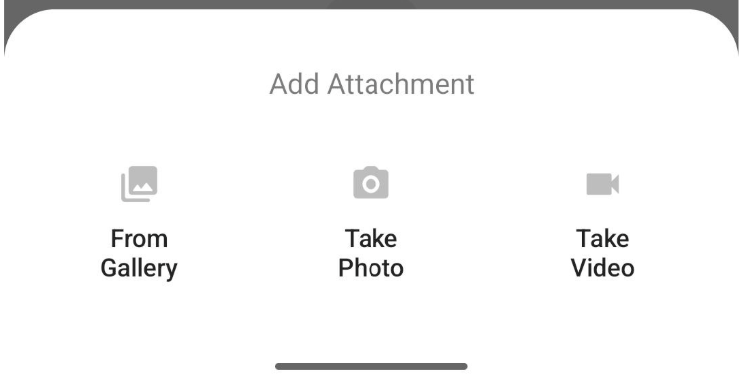
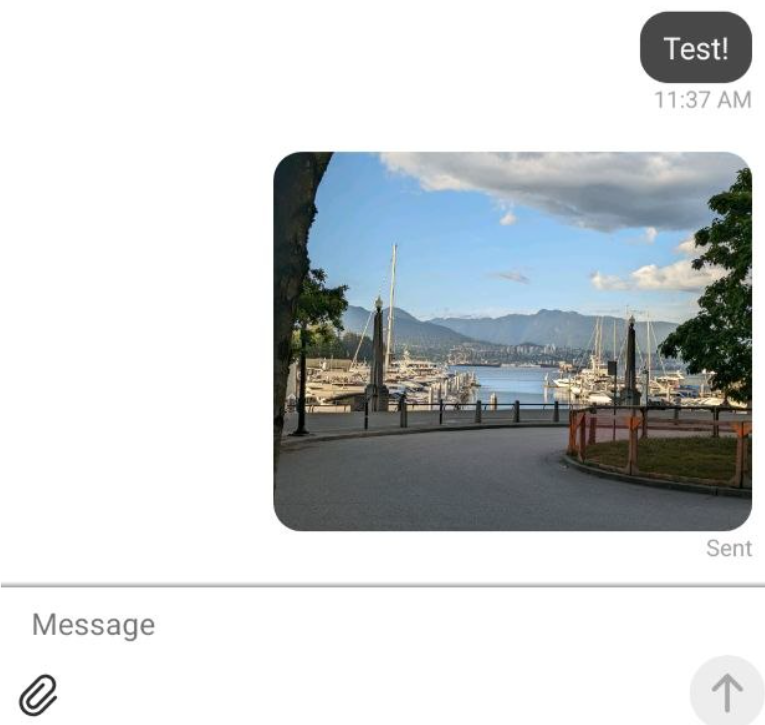
- Paperclip: click this button to attach a file to the message.
- Send: click this button to send the message. You cannot send an empty message.
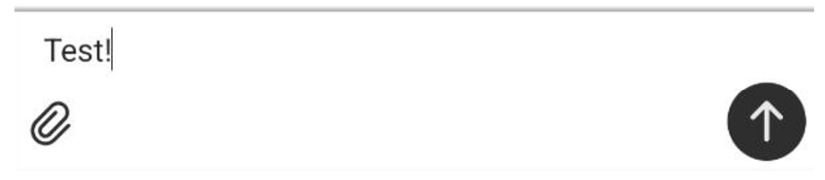
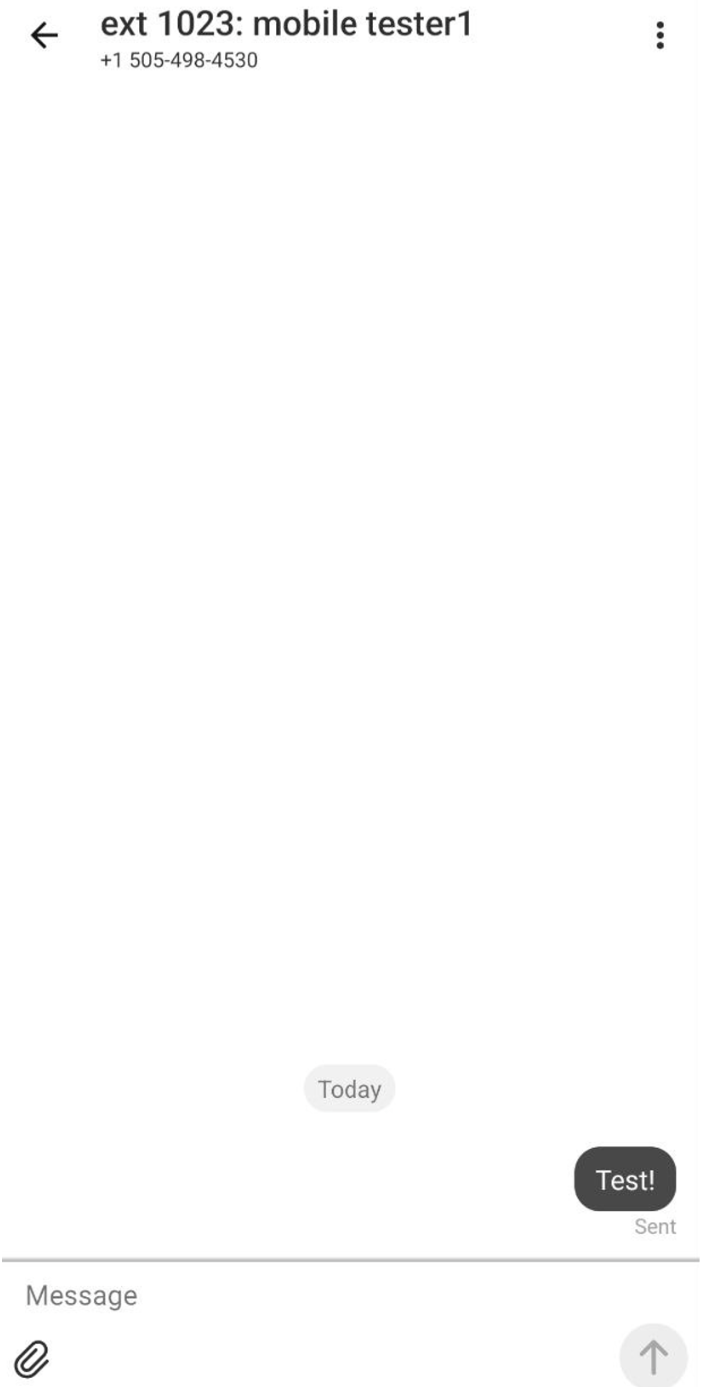
Once you send the message, the chat opens and displays the full message history. You can continue the conversation in the message thread.
Text-only messages are sent as SMS, while messages containing media files, such as photos, are sent as MMS.
Messaging in the Messages feature works similarly to chats in other messaging apps. However, the chat page includes several action elements you can use to manage the chat.

- Back: click this button to return to the list of chats. The newly created chat appears at the top of the list.
- Three-dot button: click this button to open a drop-down list with additional chat options:
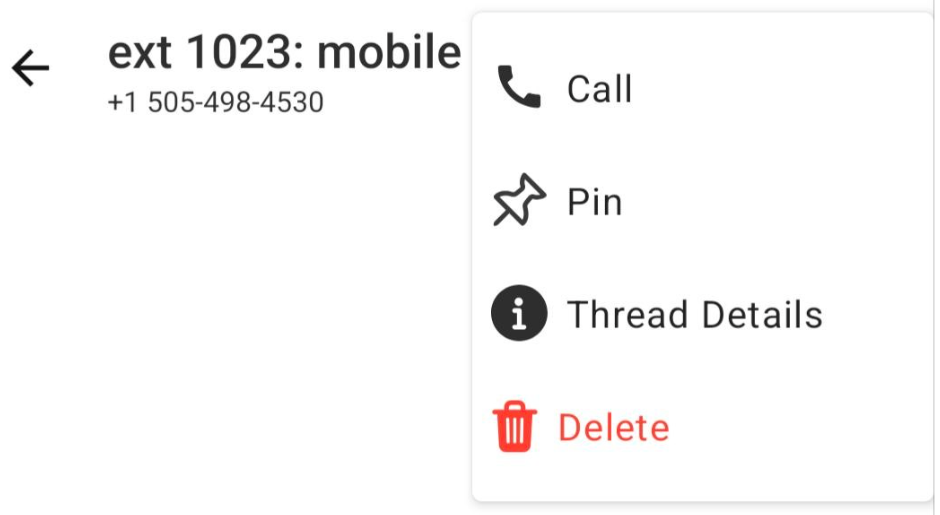
- Call: this option is available in one-to-one chats. Select this option to call the other participant.
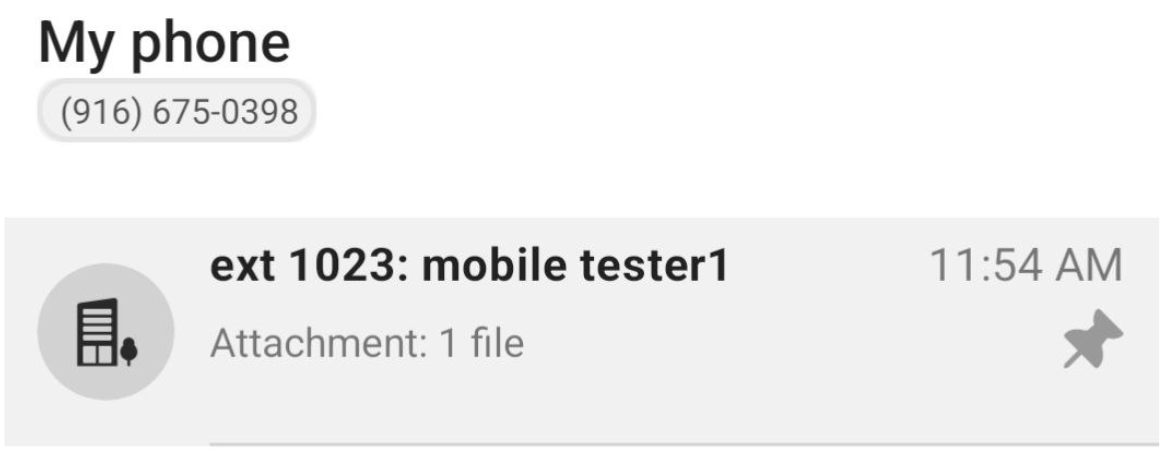
- Pin: select this option to pin the chat to the top of the list of chats. The pinned chat remains at the top even when new chats are created.
- Thread details: select this option to view the list of participants.
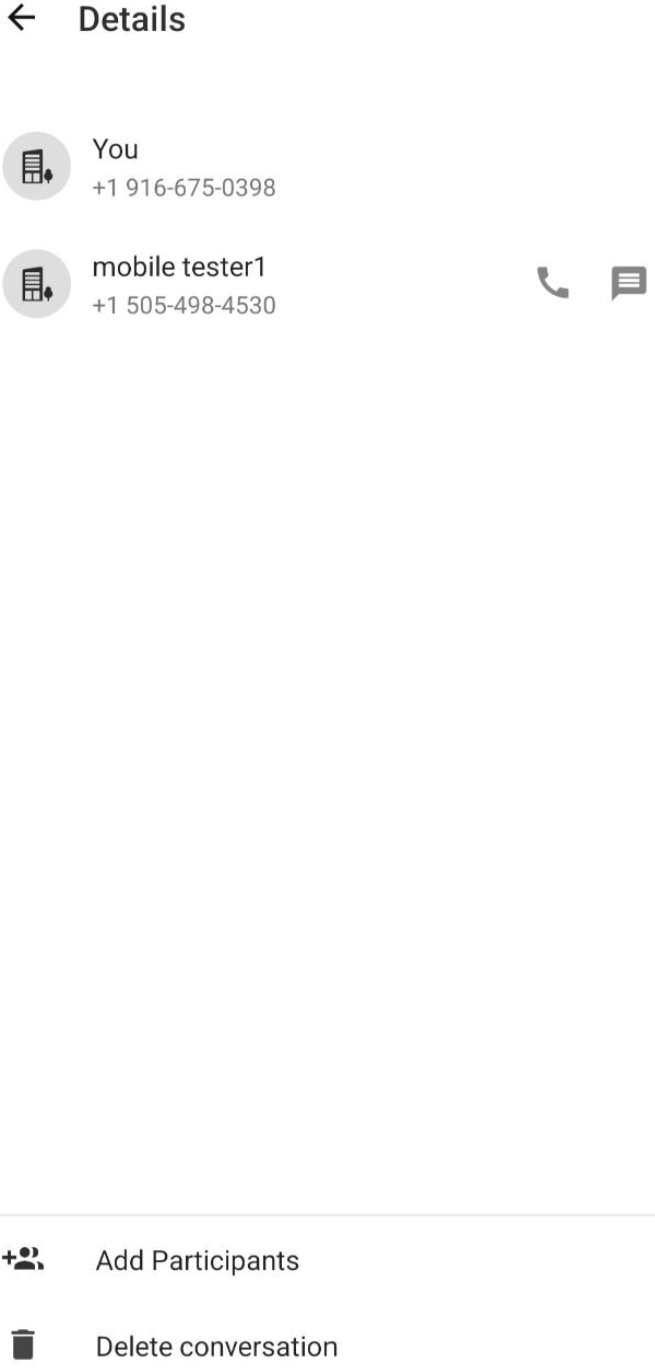
From this interface, you can call or message any participant, add new participants (which will create a new chat with all the current participants including the new ones) or delete the chat.
- Delete: select this option to delete the chat.
Was this article helpful?
That’s Great!
Thank you for your feedback
Sorry! We couldn't be helpful
Thank you for your feedback
Feedback sent
We appreciate your effort and will try to fix the article