Description: The purpose of this article is to provide a comprehensive overview of the MobileComm app’s interface.
Overview of the App
The MobileComm app functions like a business phone, providing features such as call handling, extension dialing, conferencing, and call transfers. It also allows you to manage voicemails and ensures smooth, uninterrupted communication.
This user guide focuses on the mobile client and provides detailed instructions on using the MobileComm app.
Logging In
When you launch the MobileComm app, you’ll be asked to enter the Access Code.
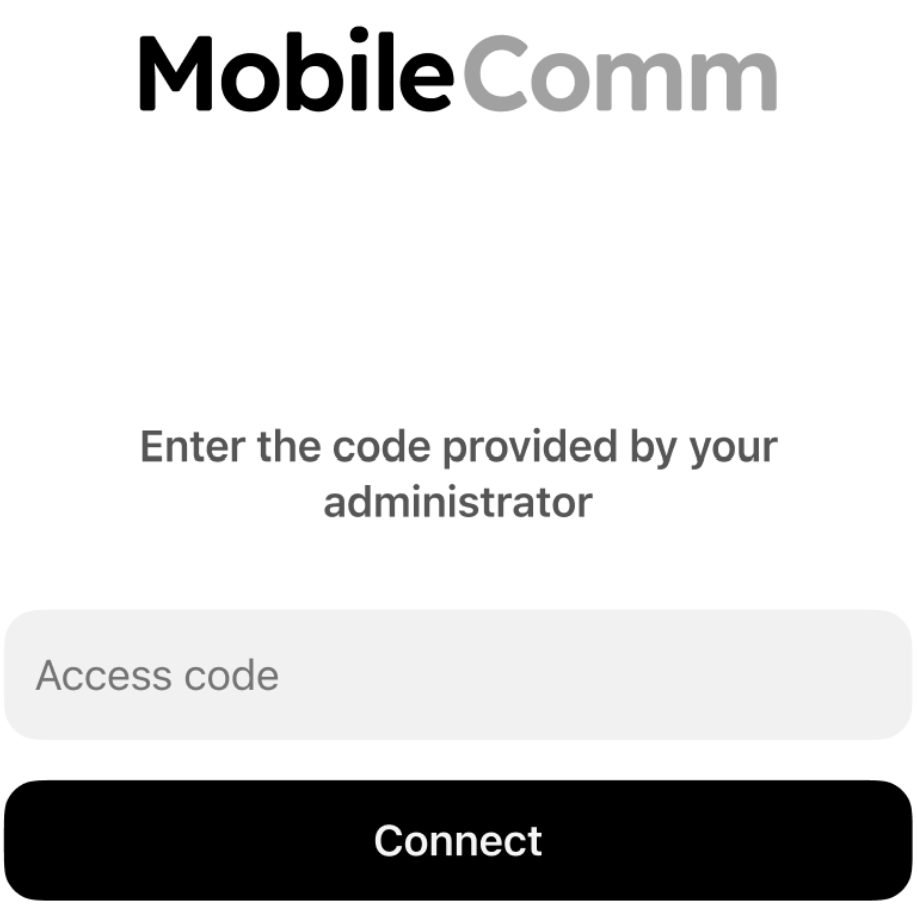
If you’re unsure which Access Code to use, please contact your Administrator.
Access Code example:
- Shared Hosted platform: welcome
You only need to enter the Access Code once. However, if you ever need to change the access point, simply tap and hold the MobileComm logo to open the Debug Menu, where you can select the appropriate node from the list. After entering the Access Code and tapping the "Connect" button, the login screen will appear.
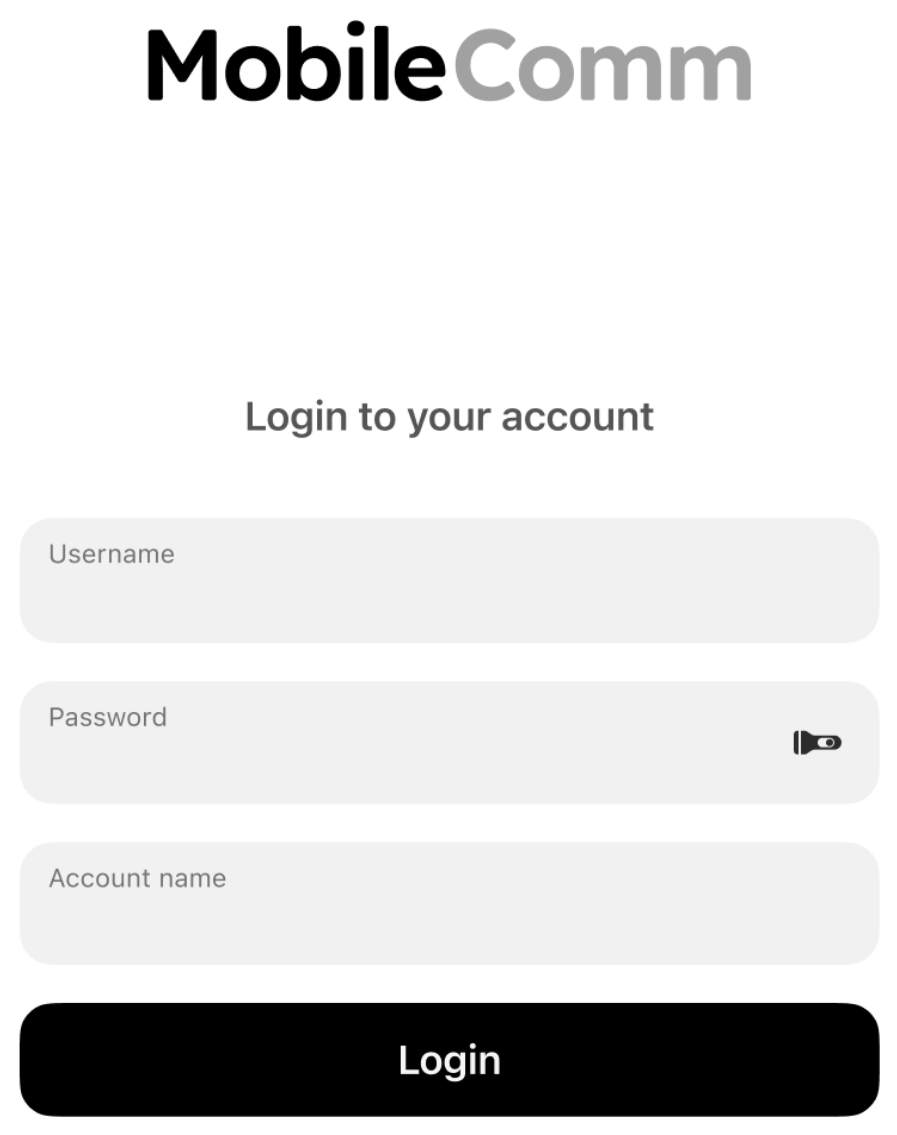
The logging procedure requires your MobileComm credentials.
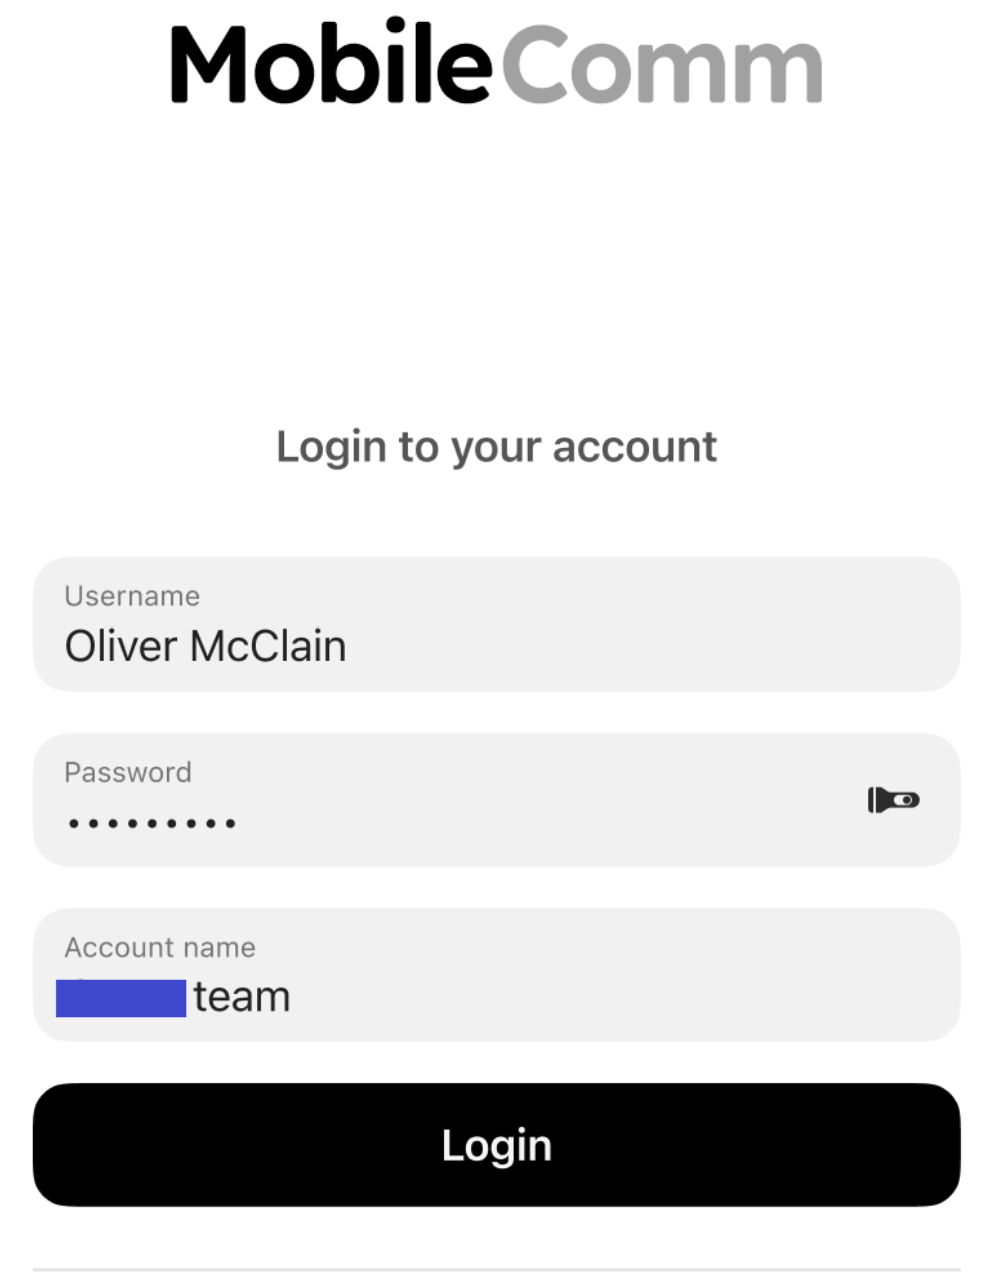
If an account administrator has enabled MFA (or messaging features that require MFA), additional steps will appear in the login wizard after you click the "Login" button, prompting you to set up the MFA.
Multi-Factor Authentication (MFA) is a security approach that requires users to confirm their identity using two or more distinct verification factors before access is allowed. These factors generally include something the user knows (for example, a password or PIN), something the user possesses (such as a mobile device or hardware token), and something the user is (such as biometric information). By requiring multiple forms of verification, MFA significantly reduces the risk of unauthorized access, even if one factor is compromised.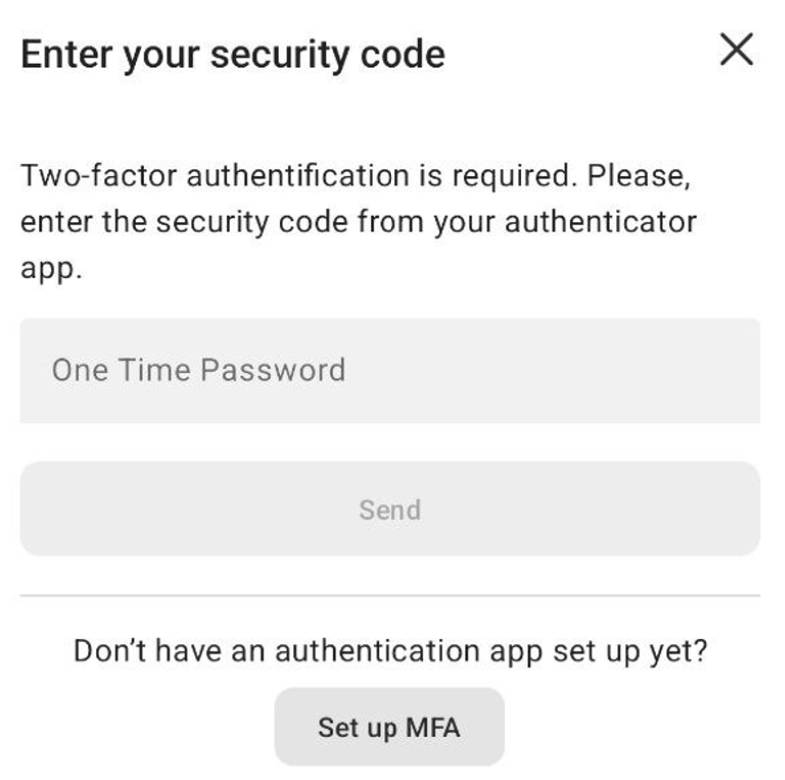
Click the "Set Up MFA" button in the pop-up window and follow the wizard to complete the setup using one of the suggested options. The three options shown are recommendations, not requirements.
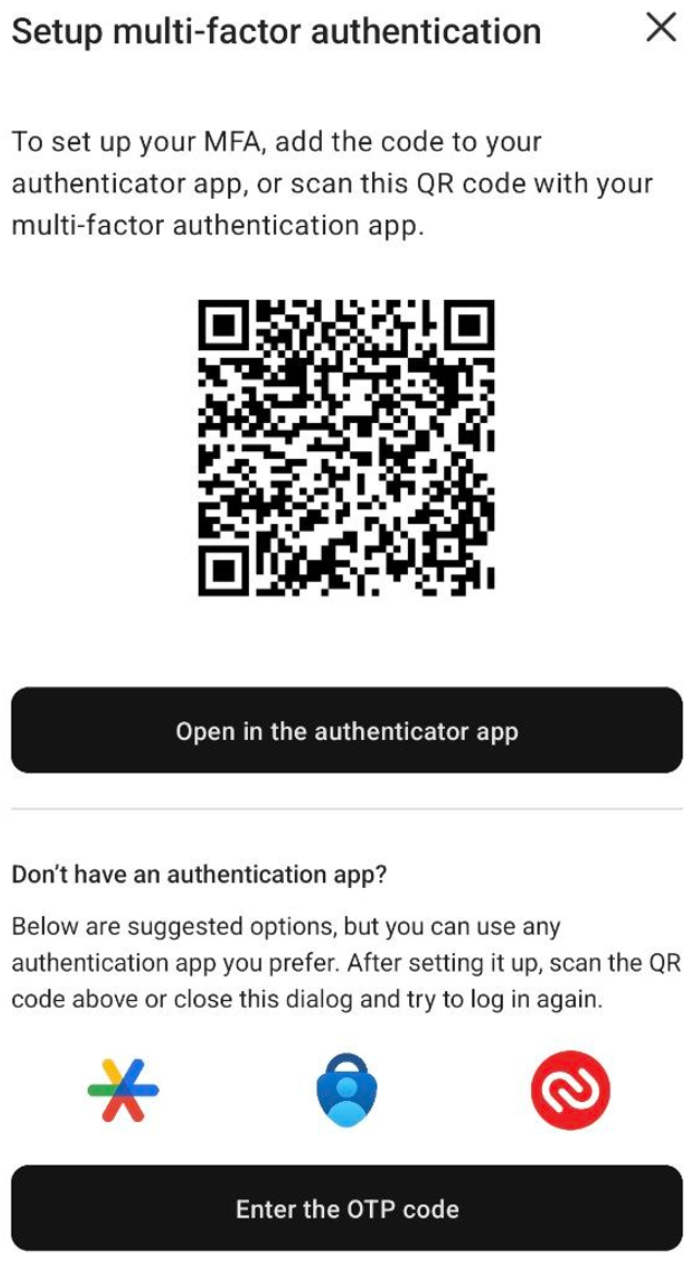
Once the login process is complete, you will gain access to the home screen of the MobileComm app.
Once you set up MFA and logged in, go to the Messaging feature and verify that the message box or boxes are displayed. This confirms that MFA has been successfully enabled, and messaging is now available for your account.If you need to reset MFA because you’ve lost your phone or are otherwise unable to access your authenticator, the reset is handled internally on our side. In the UI of the app, you’ll be instructed to contact your system administrator to request the reset.
If you need to reset MFA because you’ve lost your phone or are otherwise unable to access your authenticator, the reset is handled internally on our side. In the UI of the app, you’ll be instructed to contact your system administrator to request the reset.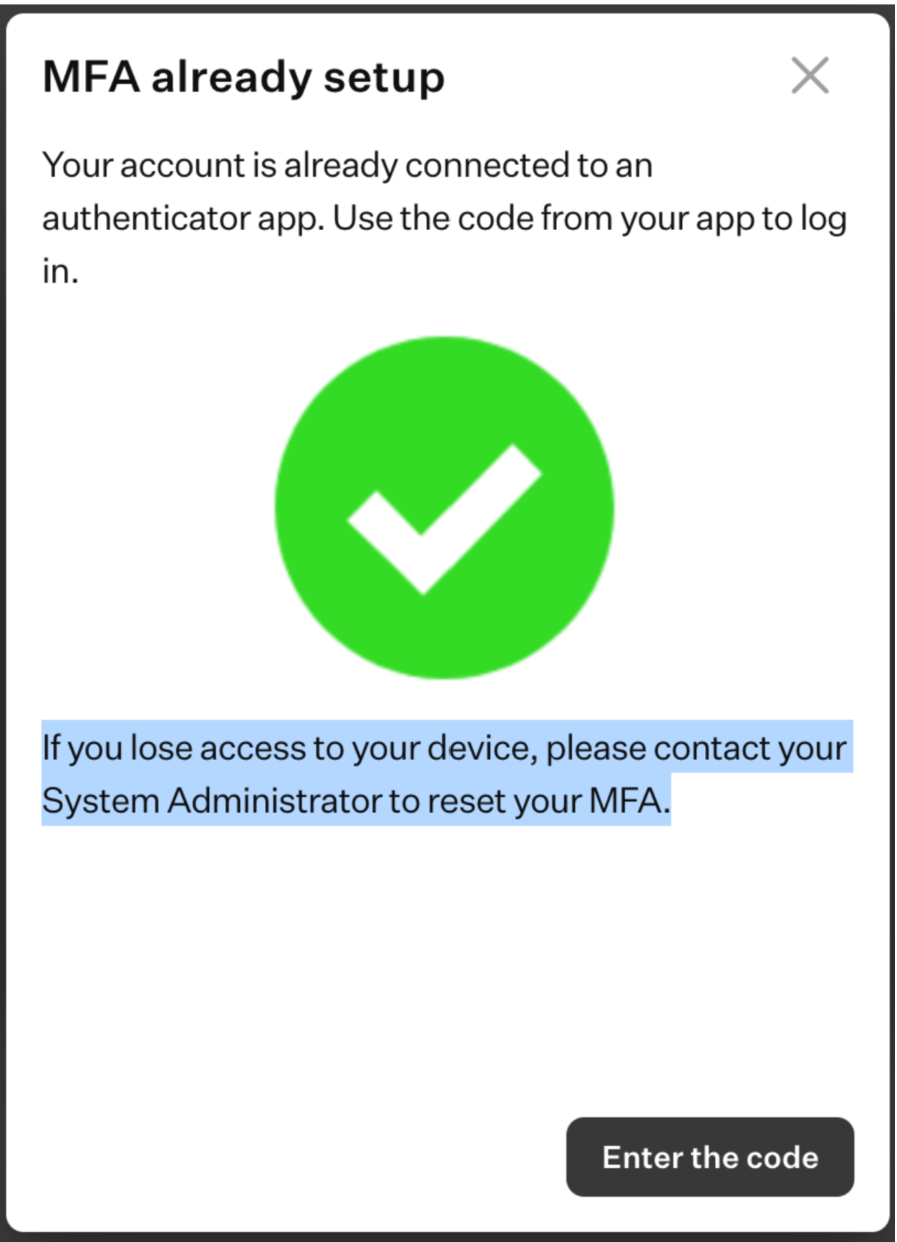
Home Screen
Once logged in, you’ll be taken to the MobileComm app’s Home Screen. It consists of three main sections:
- The bottom navigation menu displaying five shortcuts of the main features and key modules of the app.
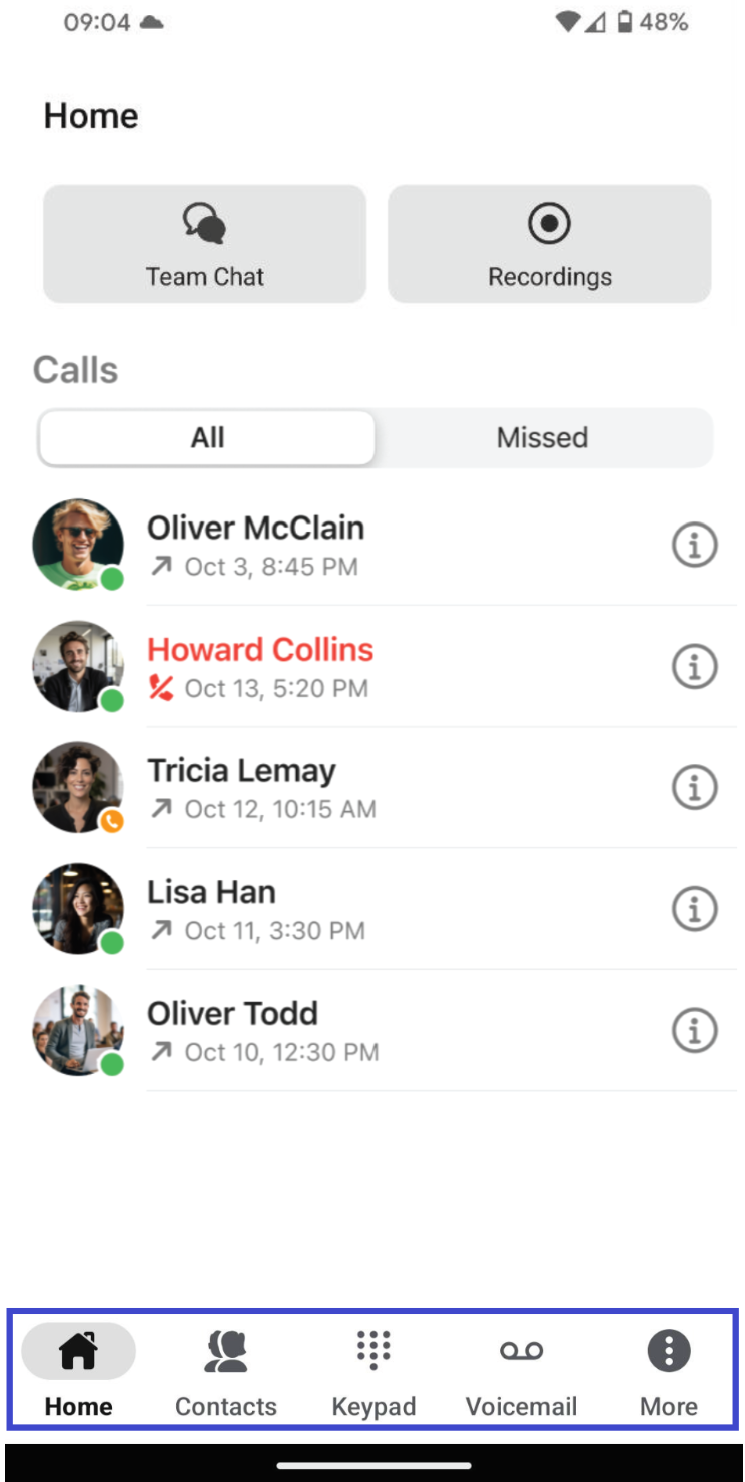
- The Recent Calls list serves as a call activity feed, displaying your received, made, and missed calls.
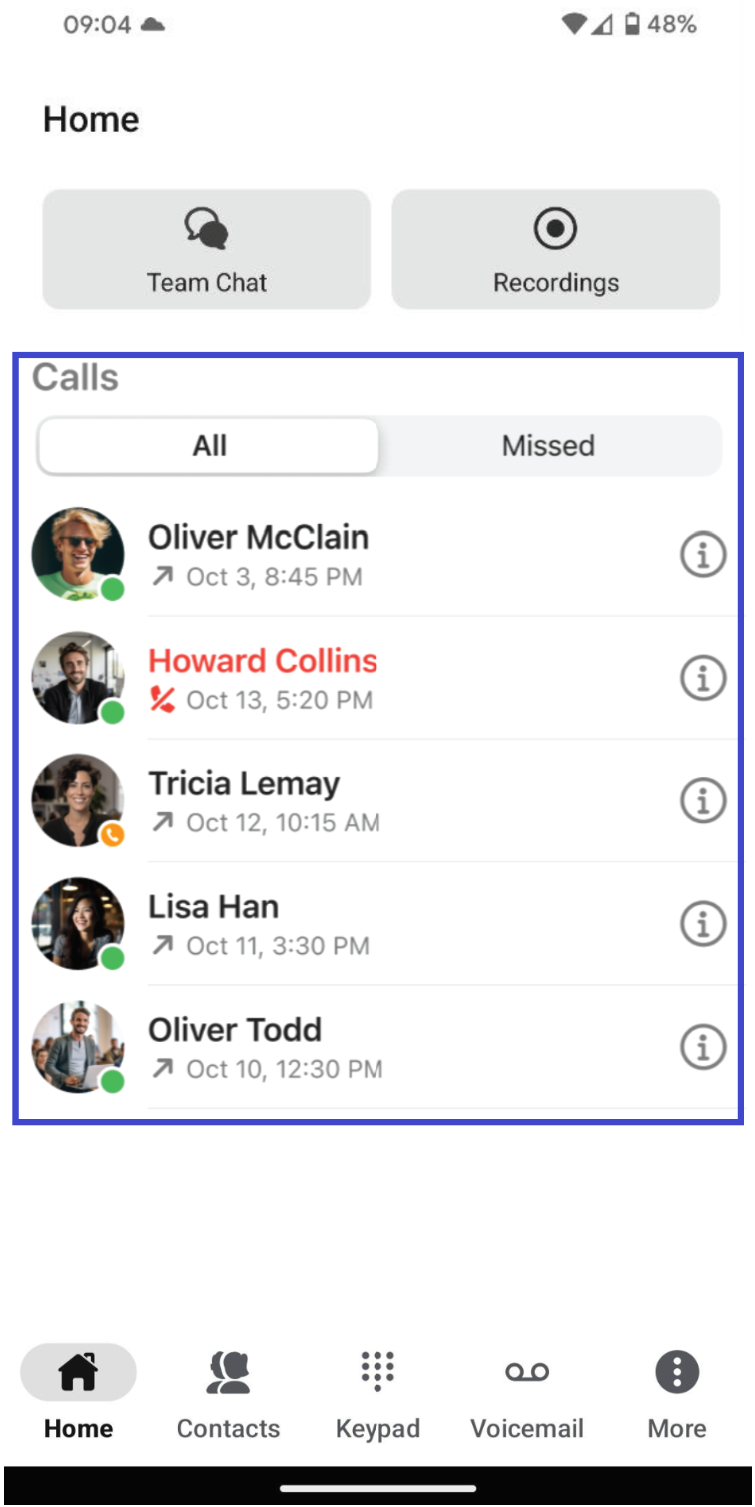
Tapping a call initiates a new call, while selecting the “i” icon opens the contact’s card.
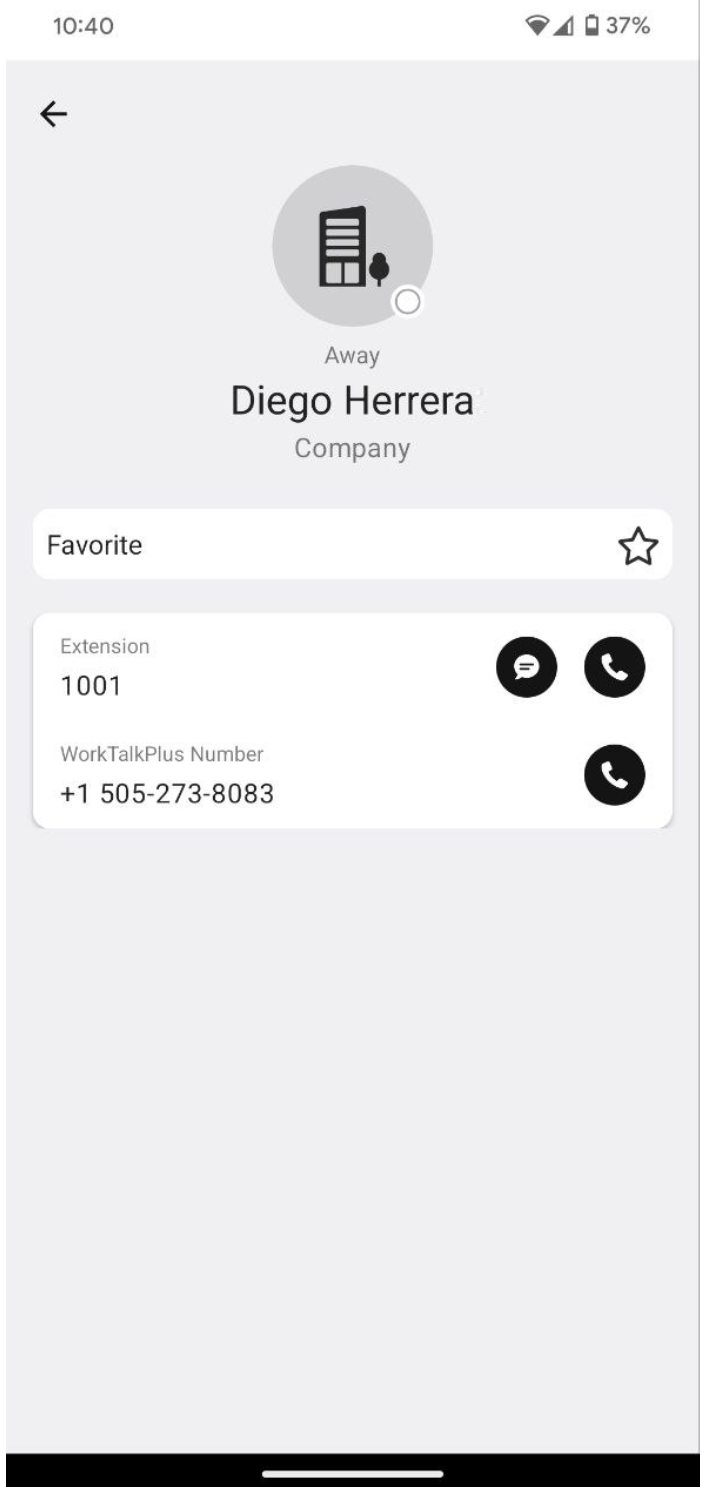
From there, you can view call and caller details and take actions such as dialing any provided phone or extension number, starting a Team Chat with the contact, or adding the contact to your favorites.
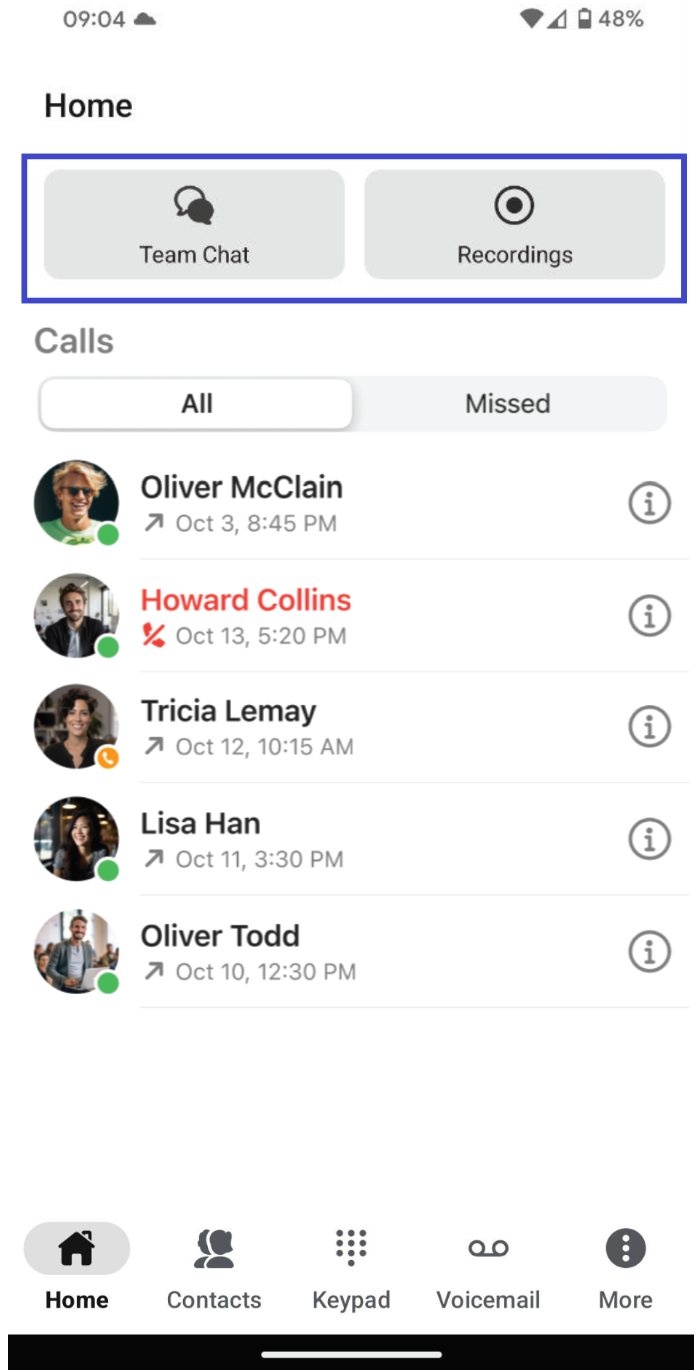
- Additional enabled modules shown above the Recent Calls list.
Modules and Features
Since MobileComm follows a modular approach, the following chapters of this user guide outline the key information about all available modules and features. However, as these topics are too extensive to cover in this document, below is a list of links leading to the corresponding chapters:
Was this article helpful?
That’s Great!
Thank you for your feedback
Sorry! We couldn't be helpful
Thank you for your feedback
Feedback sent
We appreciate your effort and will try to fix the article