Description: The purpose of this article is to provide an overview of the process for linking 3rd party messaging applications with the 2600Hz platform.
To enable SMS/MMS services on 2600Hz, there are several steps to follow:
- Register your brand and campaign for texting.
- Assign phone numbers to the campaign.
- Enable SMS/MMS for those numbers.
- Finish setup by connecting 2600Hz with your texting application.
Let’s explore each of these steps in detail.
Step 1. Register your brand and campaign with your carrier
To use SMS/MMS, you must have a registered 10DLC campaign. These campaigns have extensive requirements and can take time.
10DLC (10-Digit Long Code) Campaigns are carrier-approved messaging registrations that describe how a business uses US 10-digit phone numbers to send A2P (application-to-person) SMS or MMS messages. Each campaign defines the sending brand, messaging purpose, sample content, and opt-in/opt-out practices. Carrier approval is required to prevent spam, ensure compliance, and maintain reliable message delivery.
If you already have an account with The Campaign Registry, you can register your texting campaigns through that platform. For more information, please consult Brand Registry resources.
Otherwise, contact your carrier directly (including Trunking.io, Ooma Carrier Services provider), as most carriers provide tools for registering brands and campaigns as a pre-requisite for texting. You can check a carrier for each number using Free Carrier Lookup portal.
Due to the surge in campaign submissions, vetting may take up to 12-15 business days.
You can refer to this article on registration best practices to help prepare all required documentation in line with campaign registration requirements.
Step 2. Assign phone numbers to the campaign
Once the campaign is approved, the phone numbers you want to use for texting must be added to the campaign. To do this, contact your carrier or use the tools they provide for this task. This includes Trunking.io, Ooma Carrier Services provider.
Step 3. Enable SMS/MMS for those numbers
In this step, you will need to enable SMS/MMS services manually through the Numbers app.
The primary purpose of the Numbers App is to provide access to key functionalities such as purchasing phone numbers, managing spare and assigned number pools, and enabling various features for each number. In this article, we will focus on how to enable SMS/MMS boxes, assigning them to users (both individually and in shared mode), for a number and use them for messaging purposes.
To access the Numbers App, log in to the Monster UI Portal.
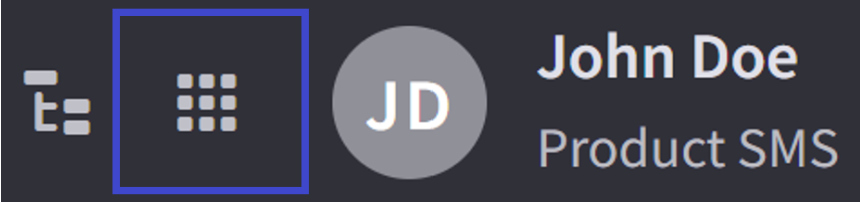
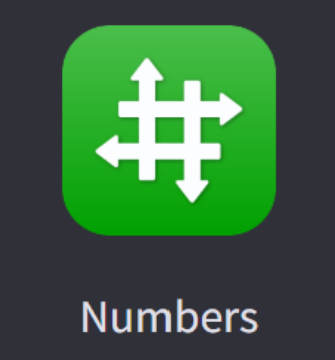
In the top horizontal panel of the portal, click the “Apps” button, then select the Numbers App from the menu that appears.
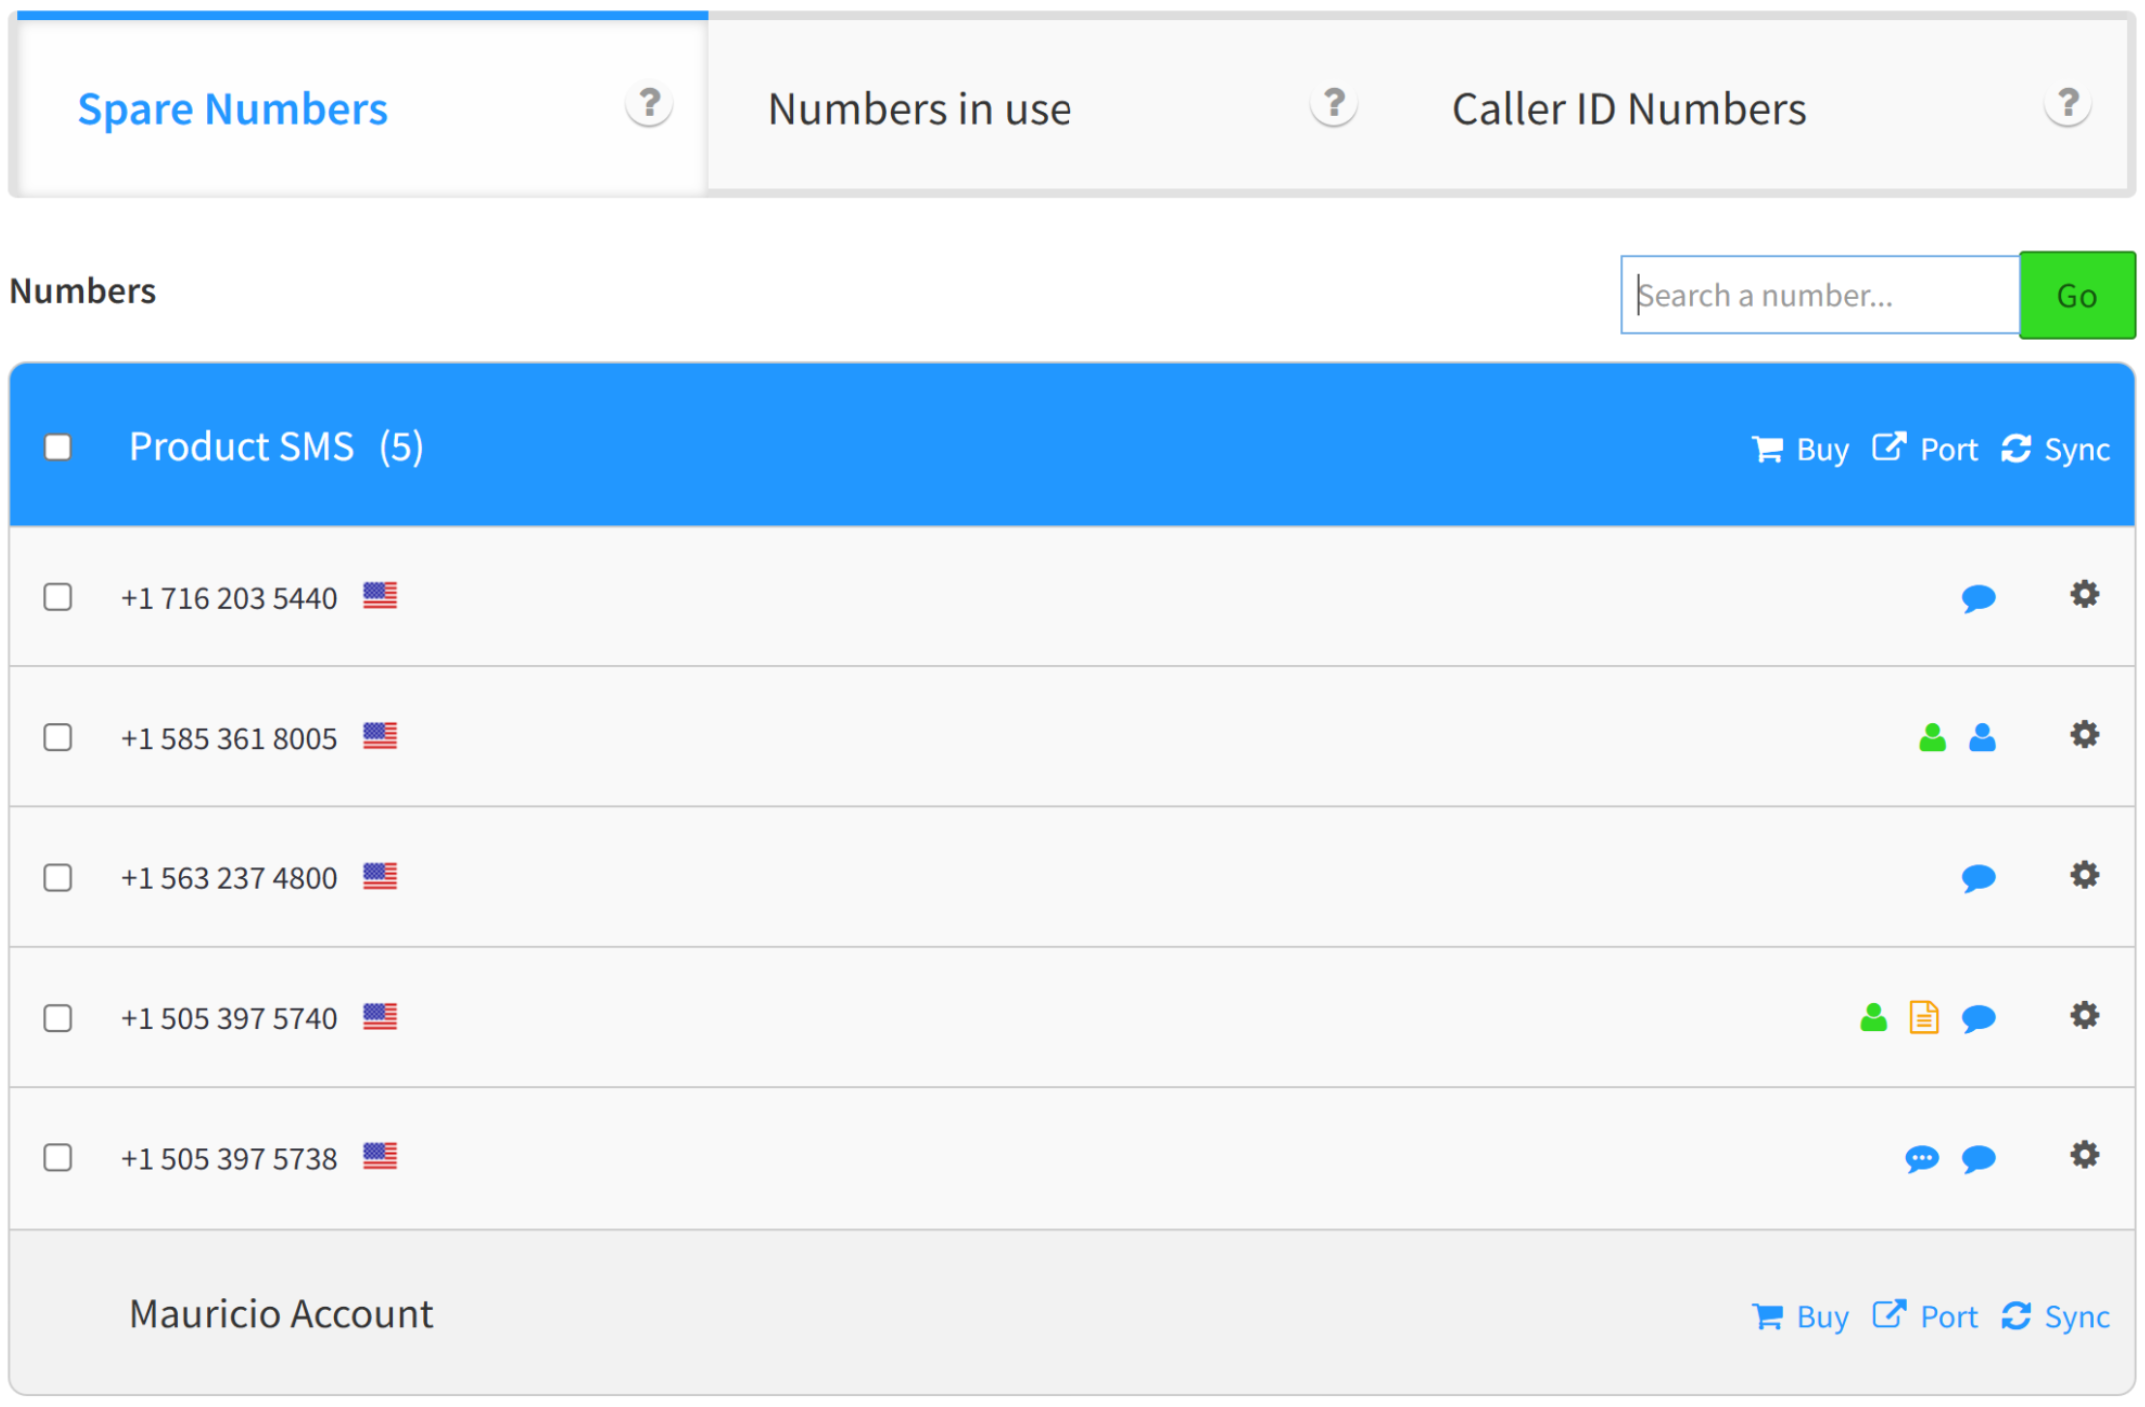
In the Numbers app, you will see all numbers in the account. You can also buy a new number if needed.
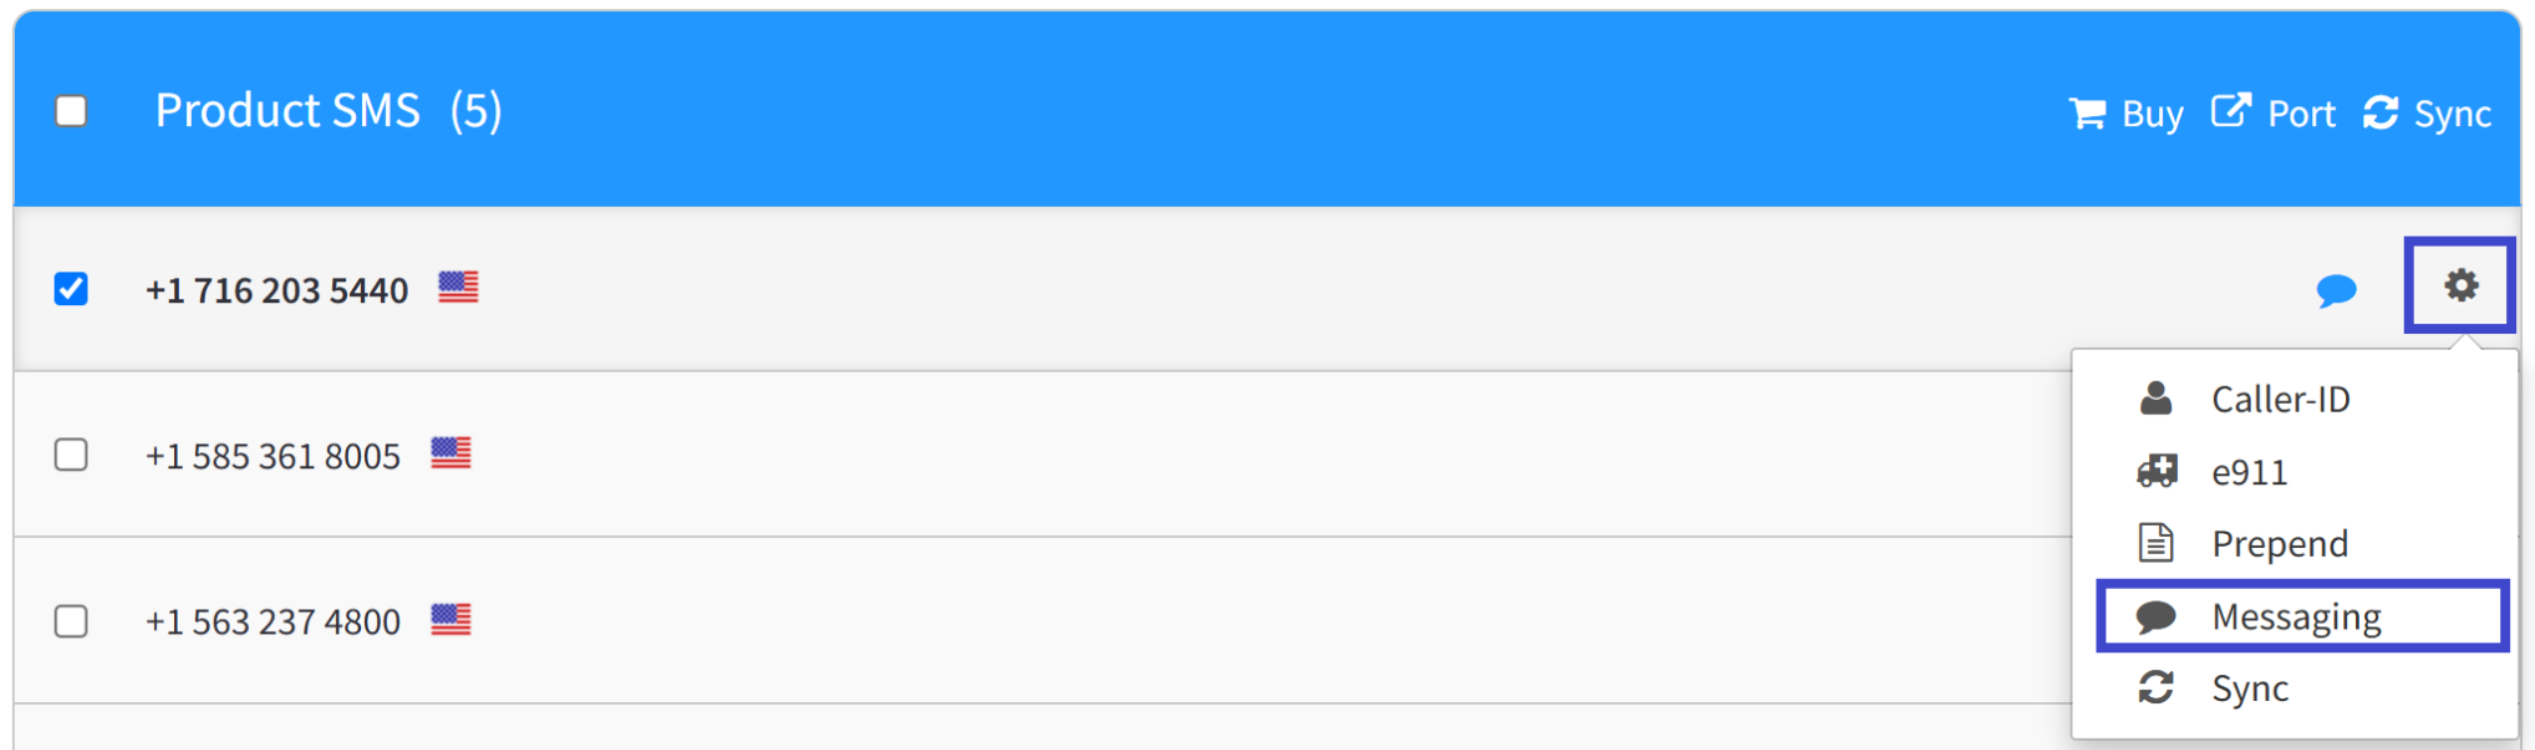
To enable messaging on a number, select this number from the list and click the Gear icon next to it. Select the “Messaging” option from the appeared drop-down list.
Note: please make sure that Steps 1 and 2 described earlier in this document have been completed, i.e. the number has been assigned to an approved campaign.
After selecting this option, a pop-up window will appear, allowing you to configure the Messaging feature for the selected phone number.
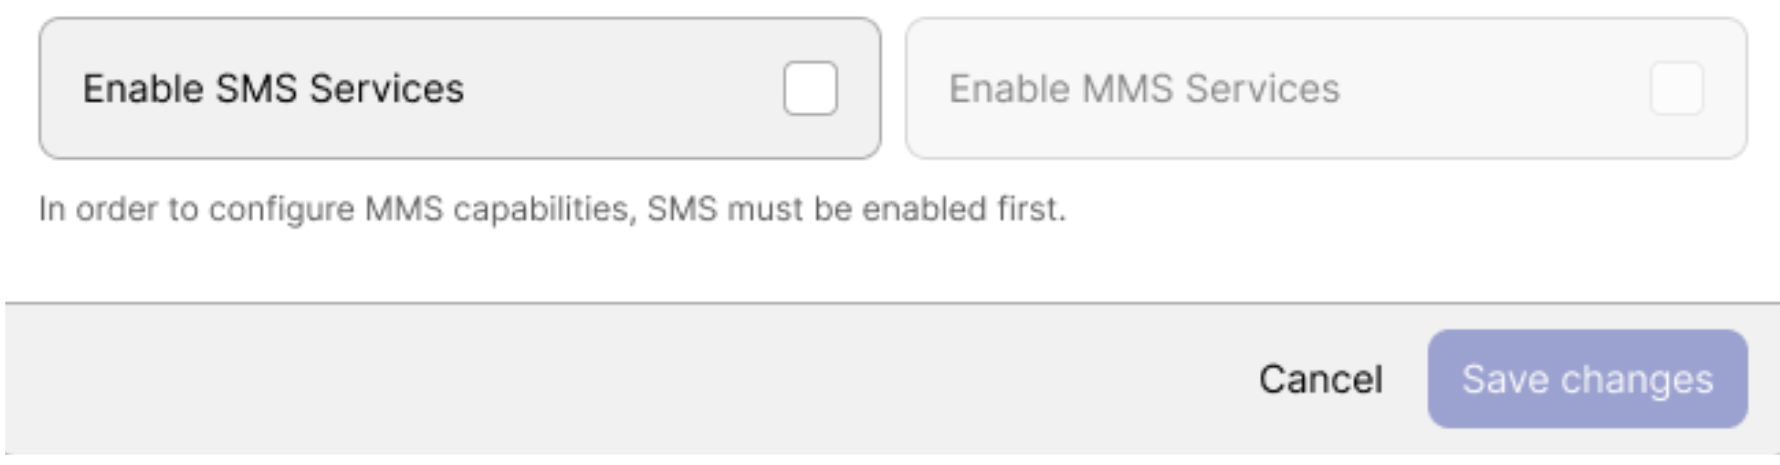
Three options are available for you in the appeared pop-up window:
- Enable SMS Services: check this box to enable SMS for the selected phone number.
- Enable MMS Services: check this box to enable MMS for the selected phone number.
Save Changes: when using third-party messaging applications for texting, you do not need to create or configure message boxes. In this case, just click the “Save Changes” button.
Note that MMS can only be enabled after SMS has been enabled for that phone number. This allows you to better control costs associated with messaging.
After enabling SMS/MMS service for each number requiring texting service, you can move on to setting up webhooks to use SMS/MMS through your own application.
Step 4. Finish setup by connecting 2600Hz with your texting application
The remaining setup depends on the texting application you choose. Select an application from the list below and follow the steps in the corresponding article.
Was this article helpful?
That’s Great!
Thank you for your feedback
Sorry! We couldn't be helpful
Thank you for your feedback
Feedback sent
We appreciate your effort and will try to fix the article